It’s been a long time since I’ve posted anything. Partly becasue I’ve been so busy with our new (to us) RV. I actually have a ton of stuff to share, and soon I hope to get it all out there in a clear and useful manner.
Well, first off, I have to address the Bigfoot in the room. Yes, I said Bigfoot. We recently purchased a 1999 30ft. Bigfoot Motorhome from a private seller in Hillsboro, OR. It has about 45,000 miles on it and all in all, it’s in great shape. This is going to be our new home:
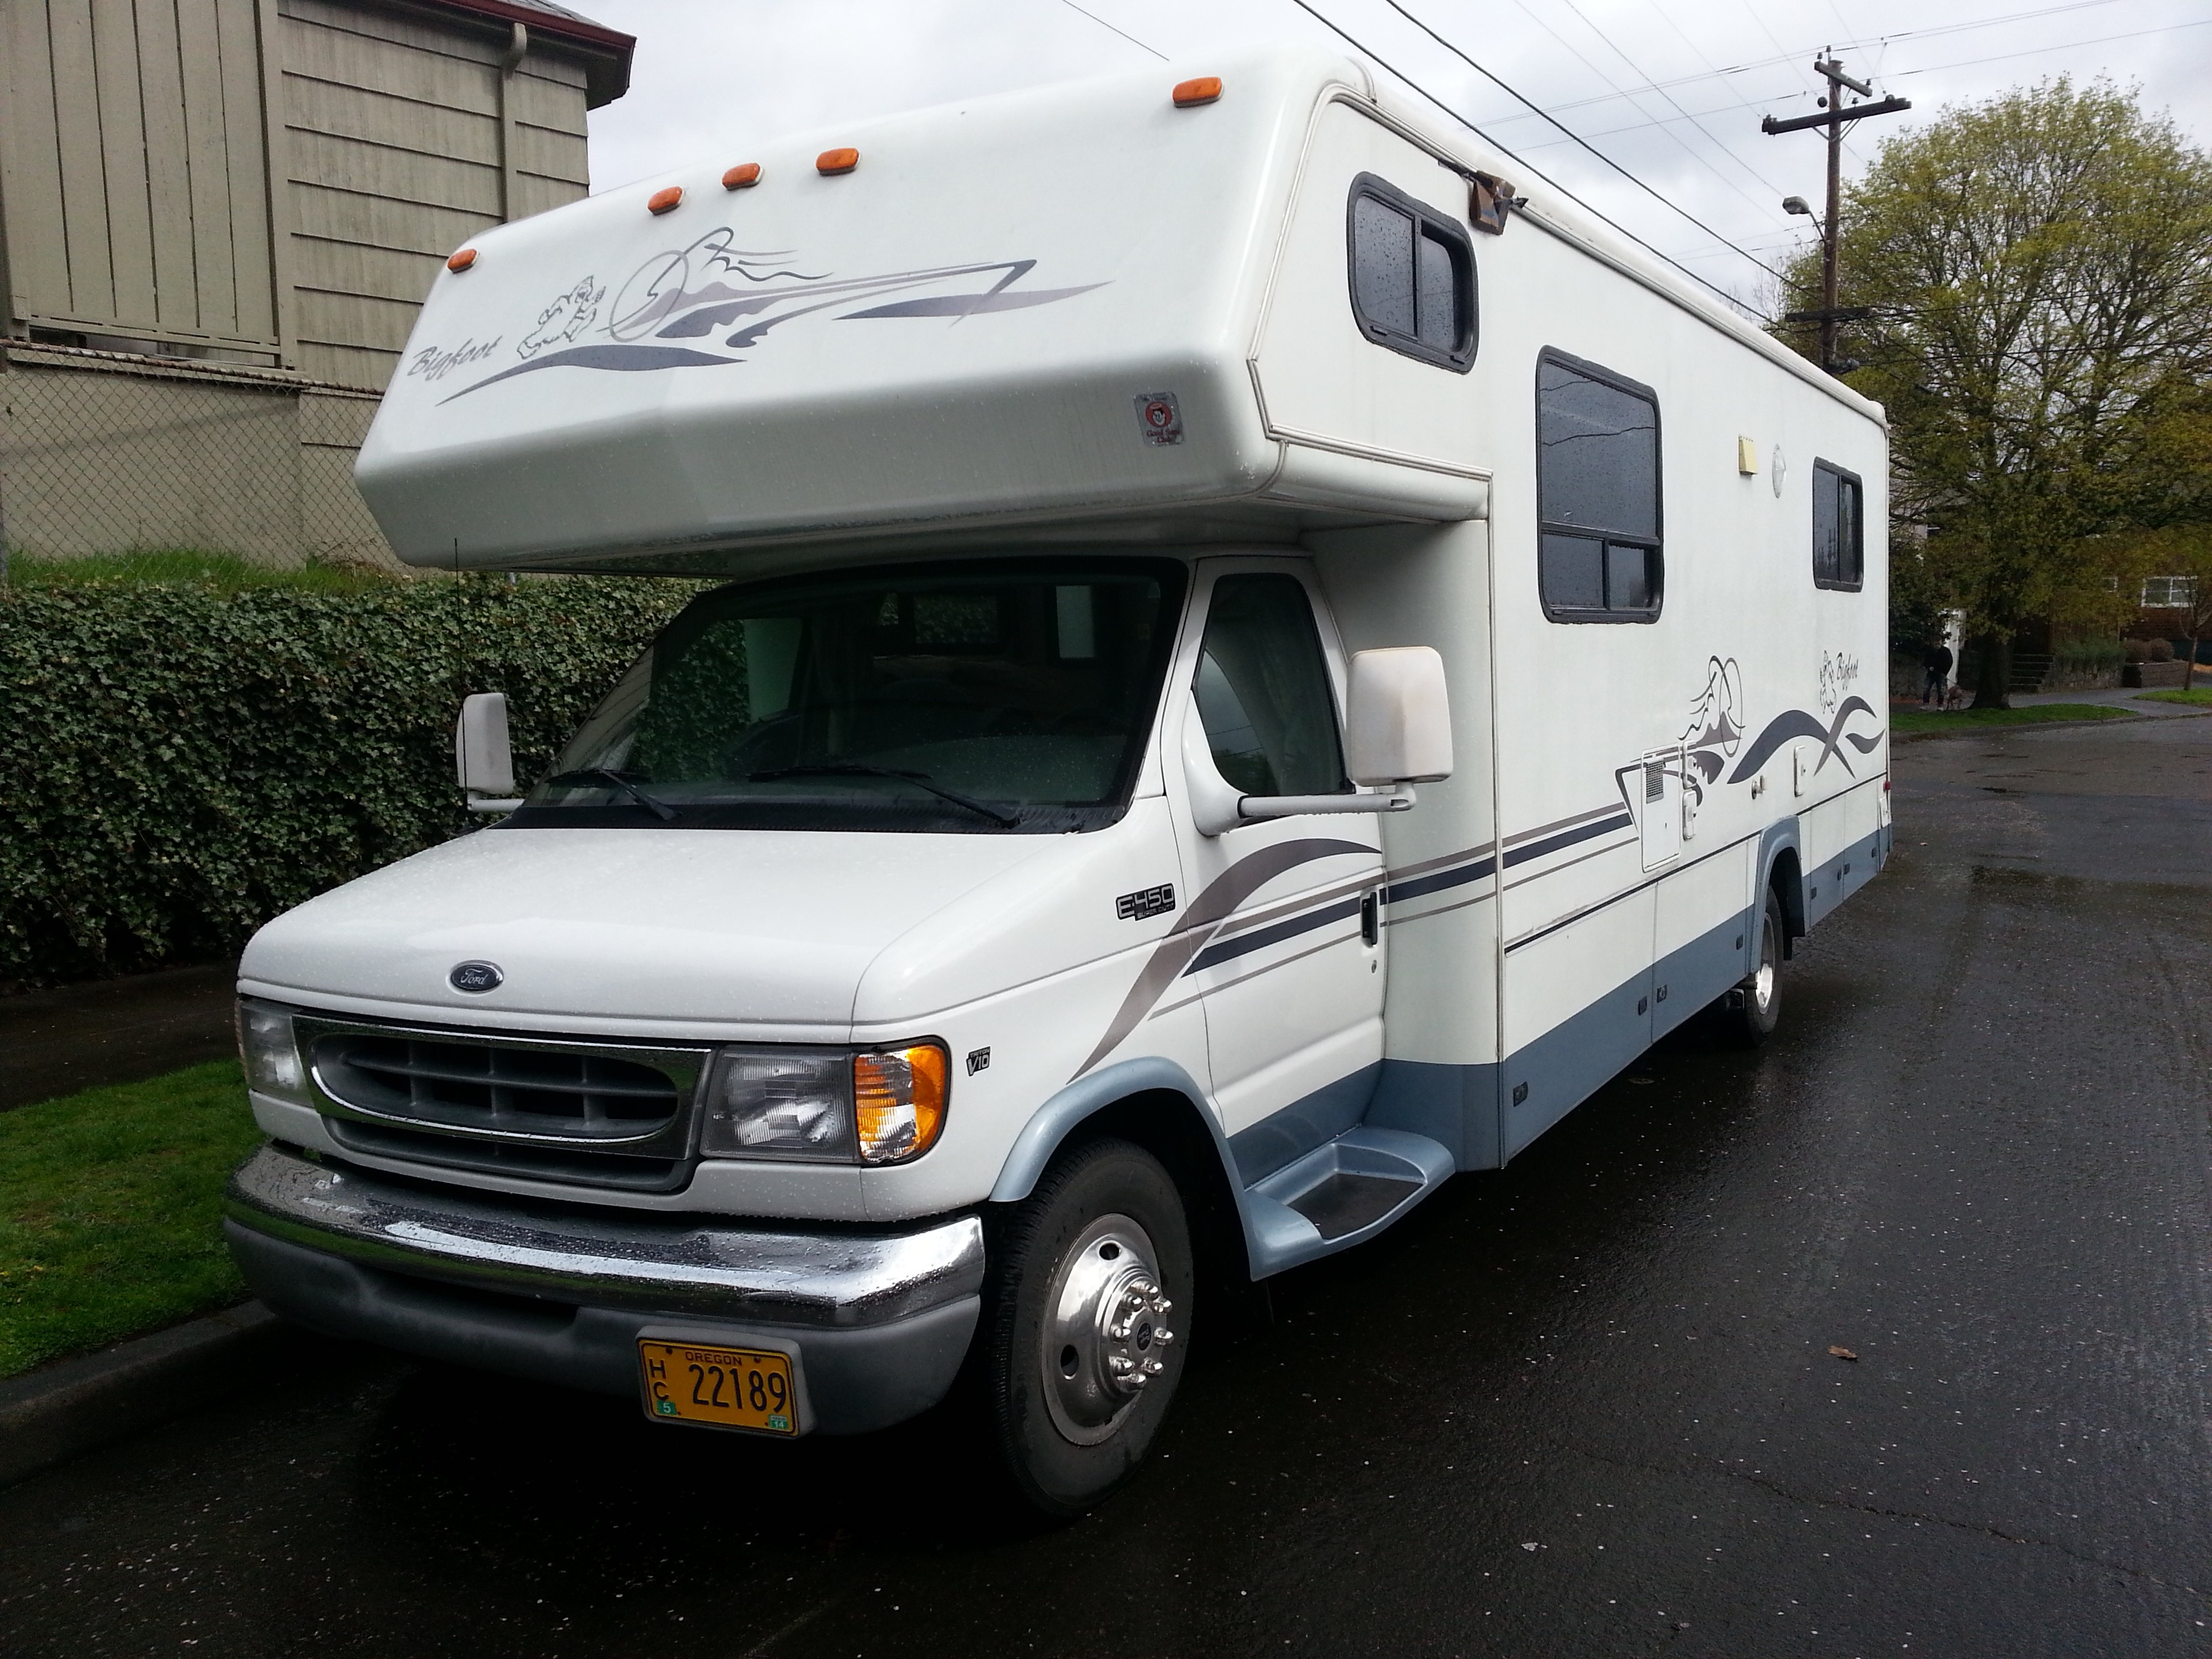
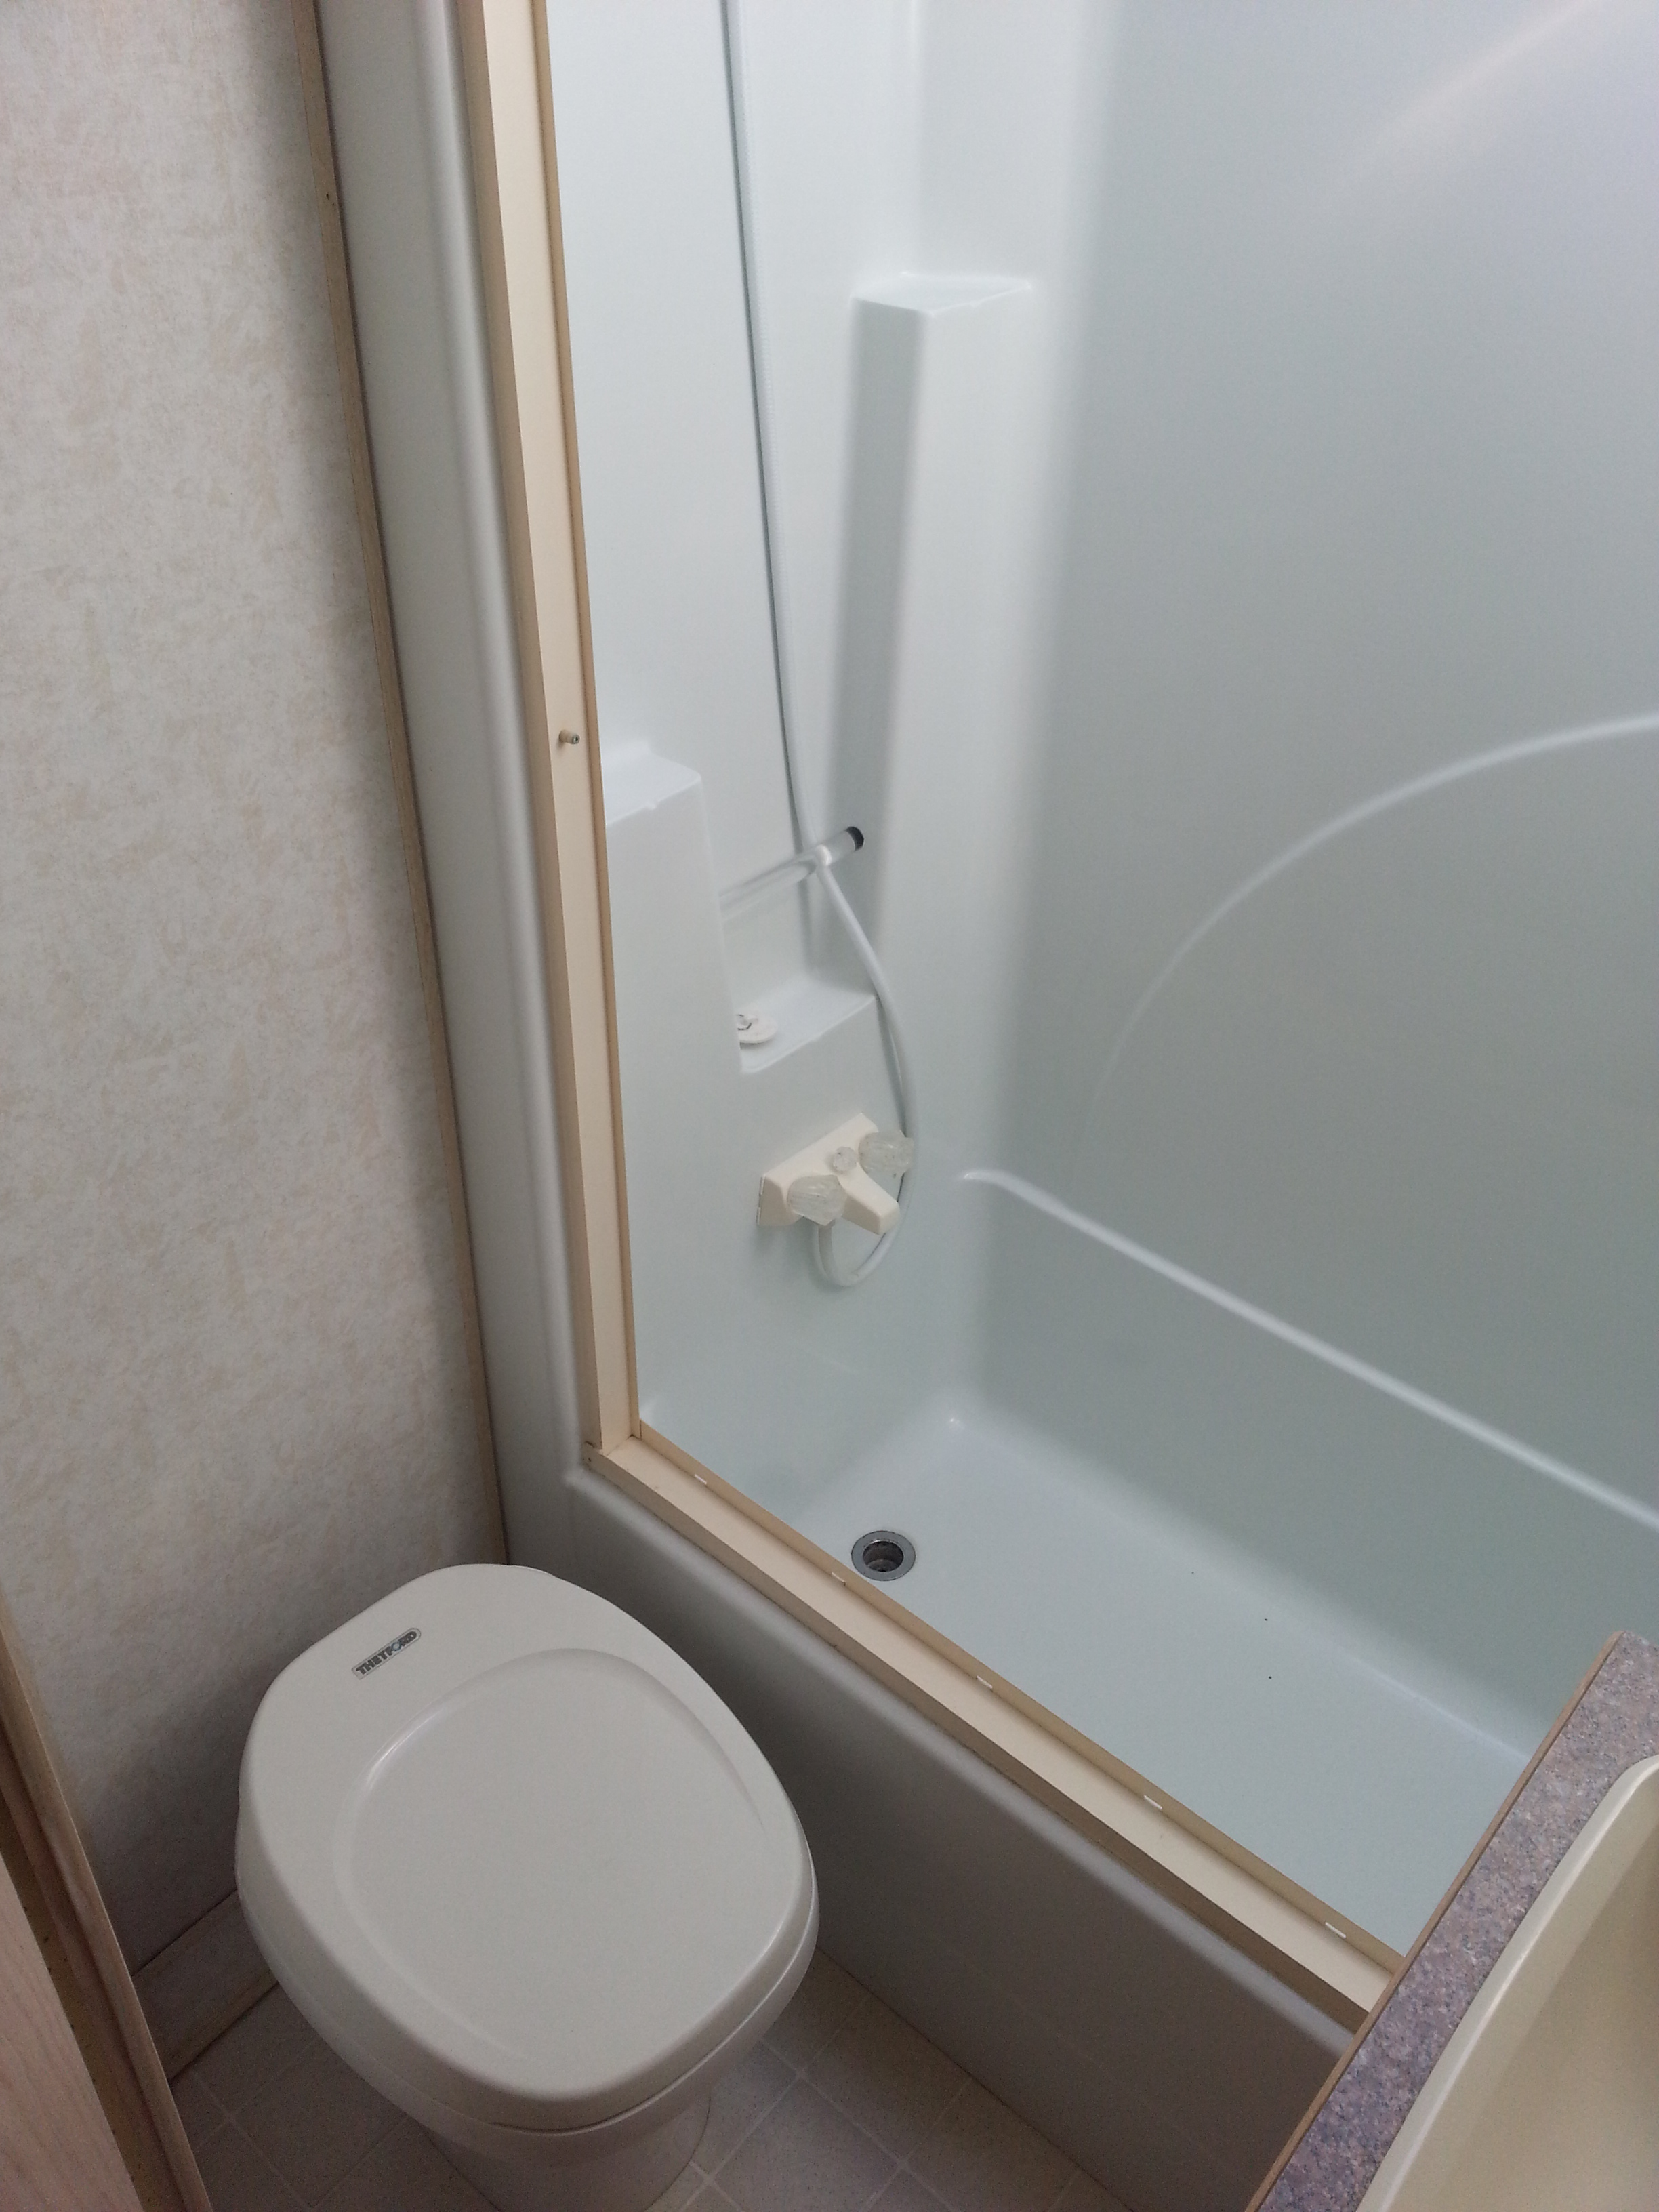
The coach was built in British Columbia and marketed as an all seasons motorhome. Compared to the Winnebago brands, and they go by many names, this thing has an aluminum frame, 1.5″ Polystyrene insulated walls and floor, 1″ or more in the roof, and 3/4″ to 1″ in the basement compartments. The windows are all thermalpane sliding glass. There are two vinyl skylights, one in the living room and one over the shower. The exterior is fiberglass with a one piece rubber roof system. Other than the larger than normal tub/shower, the rest of the features are fairly common in a motorhome. Adsorption refrigerator, LP water heater, LP forced air heater, LP stove and oven, marine toilet, roof mount ducted A/C unit, gasoline generator, and so on.
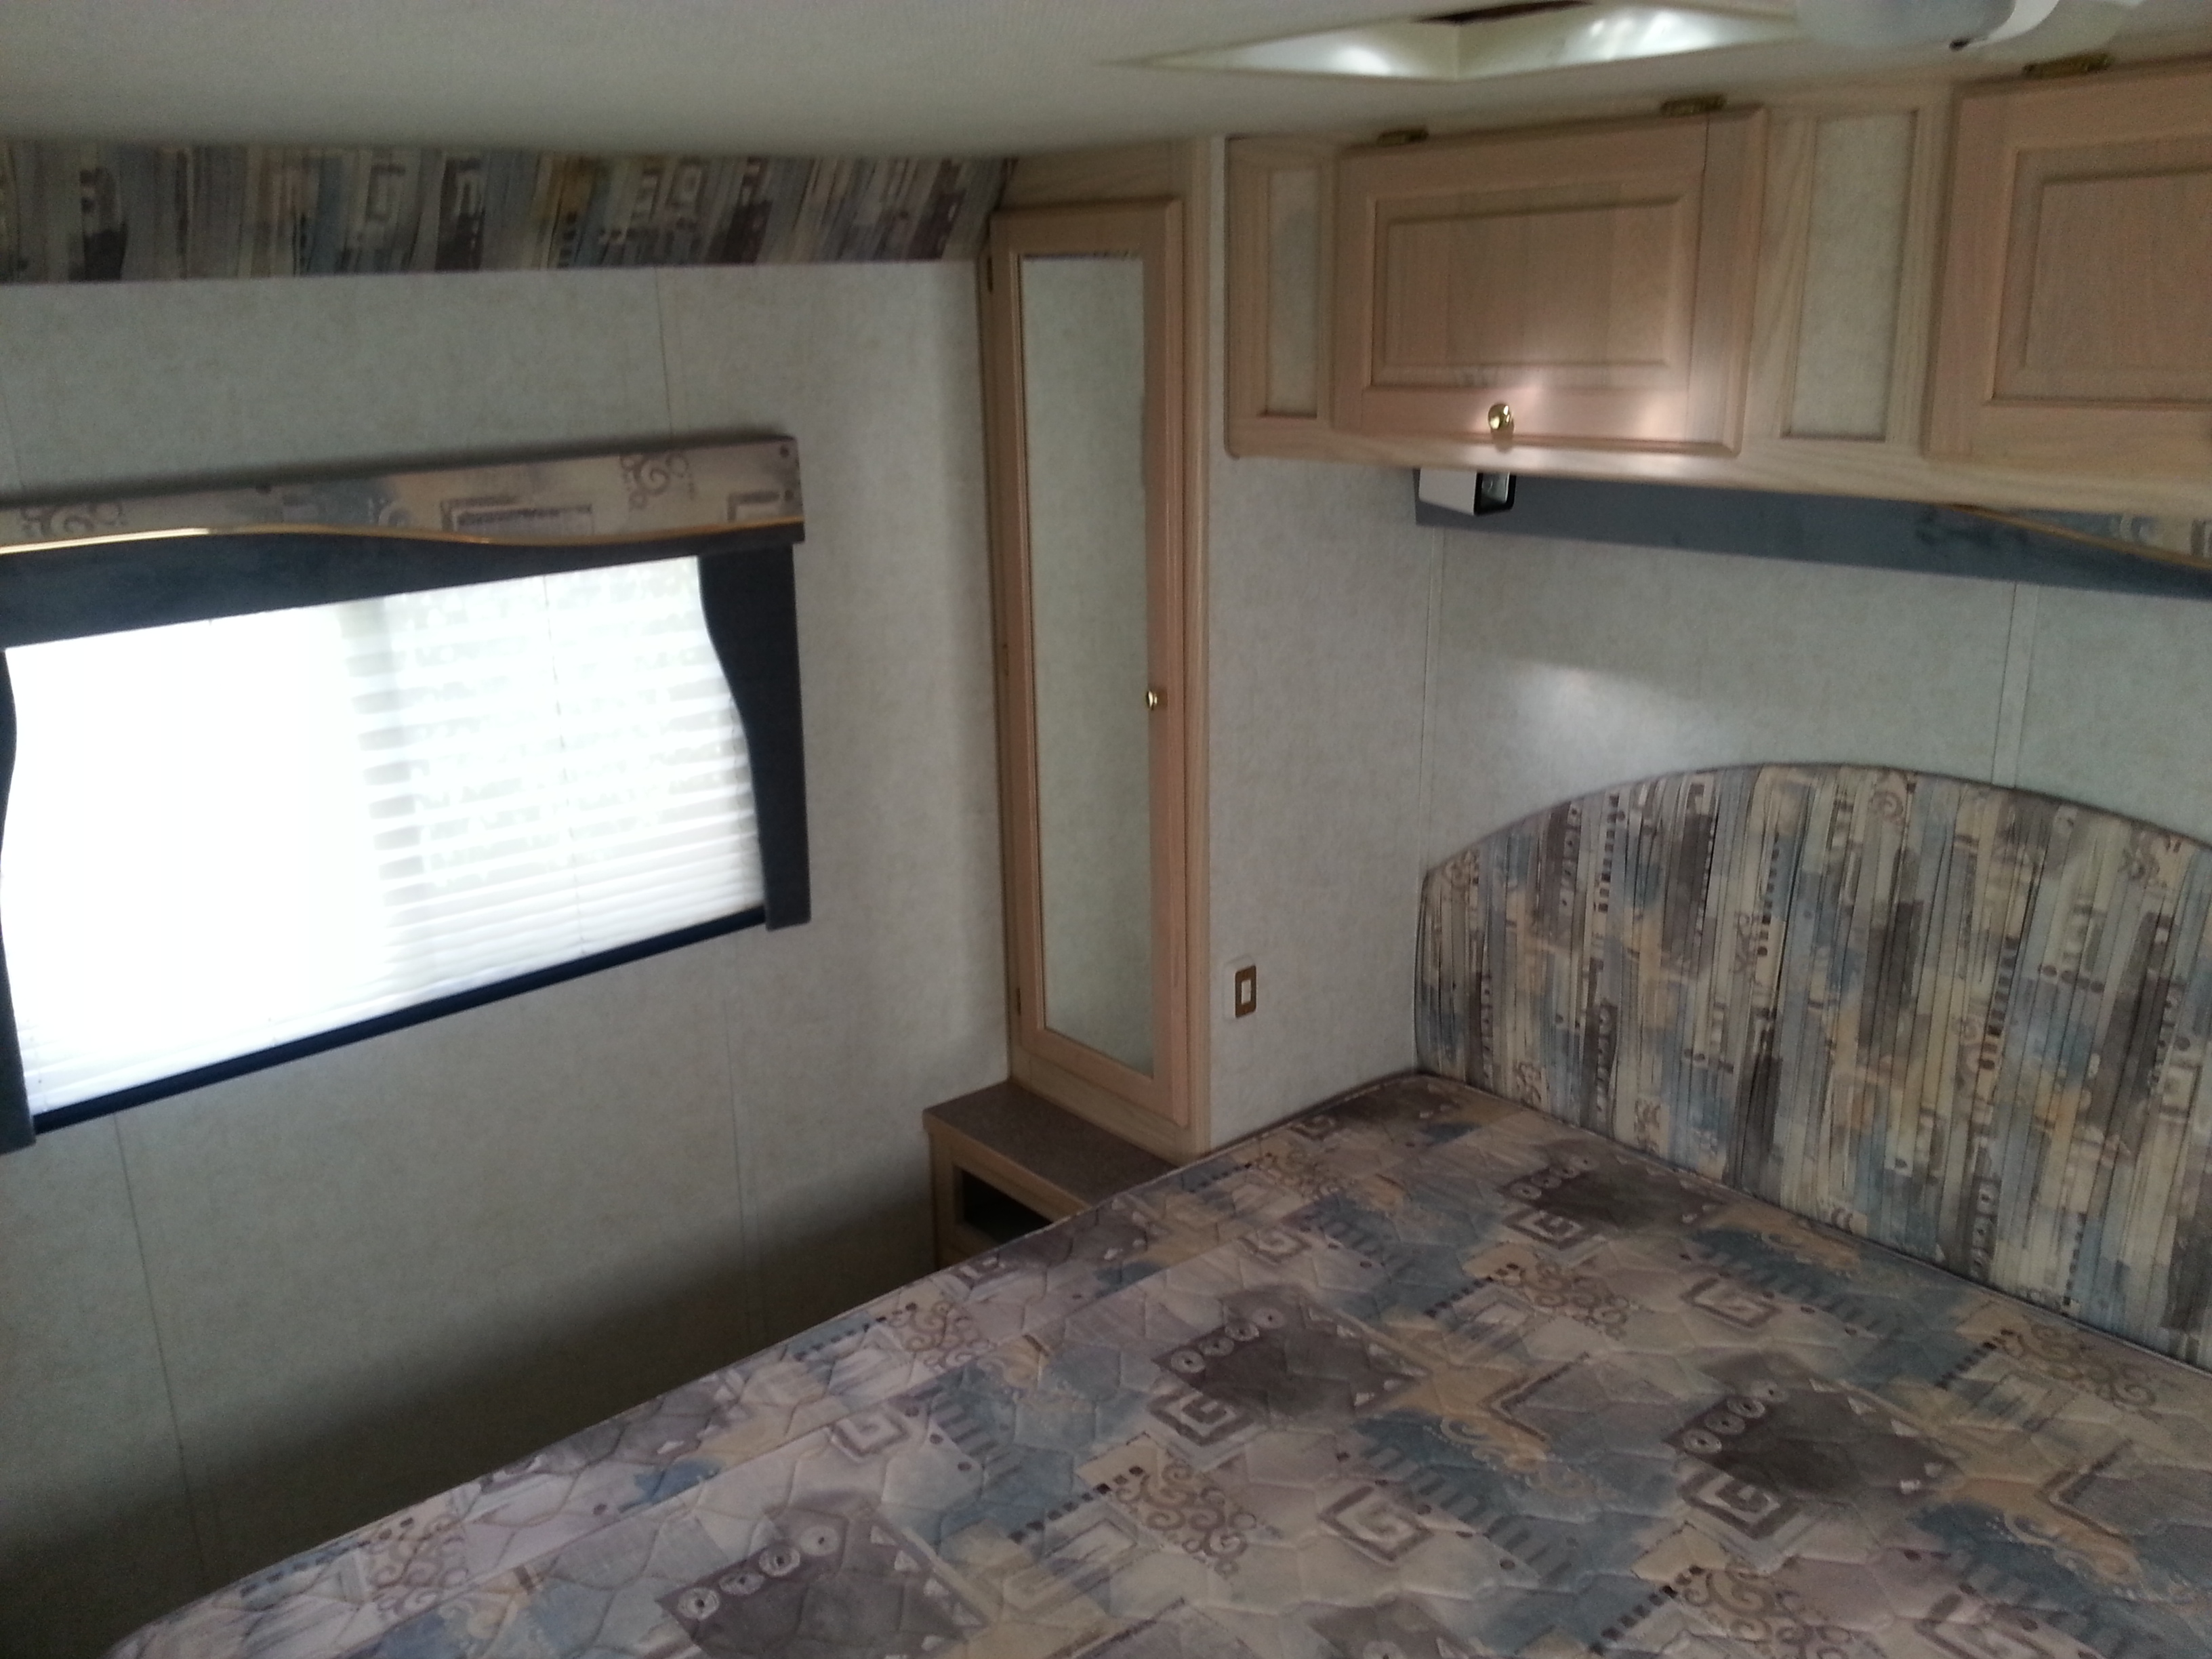
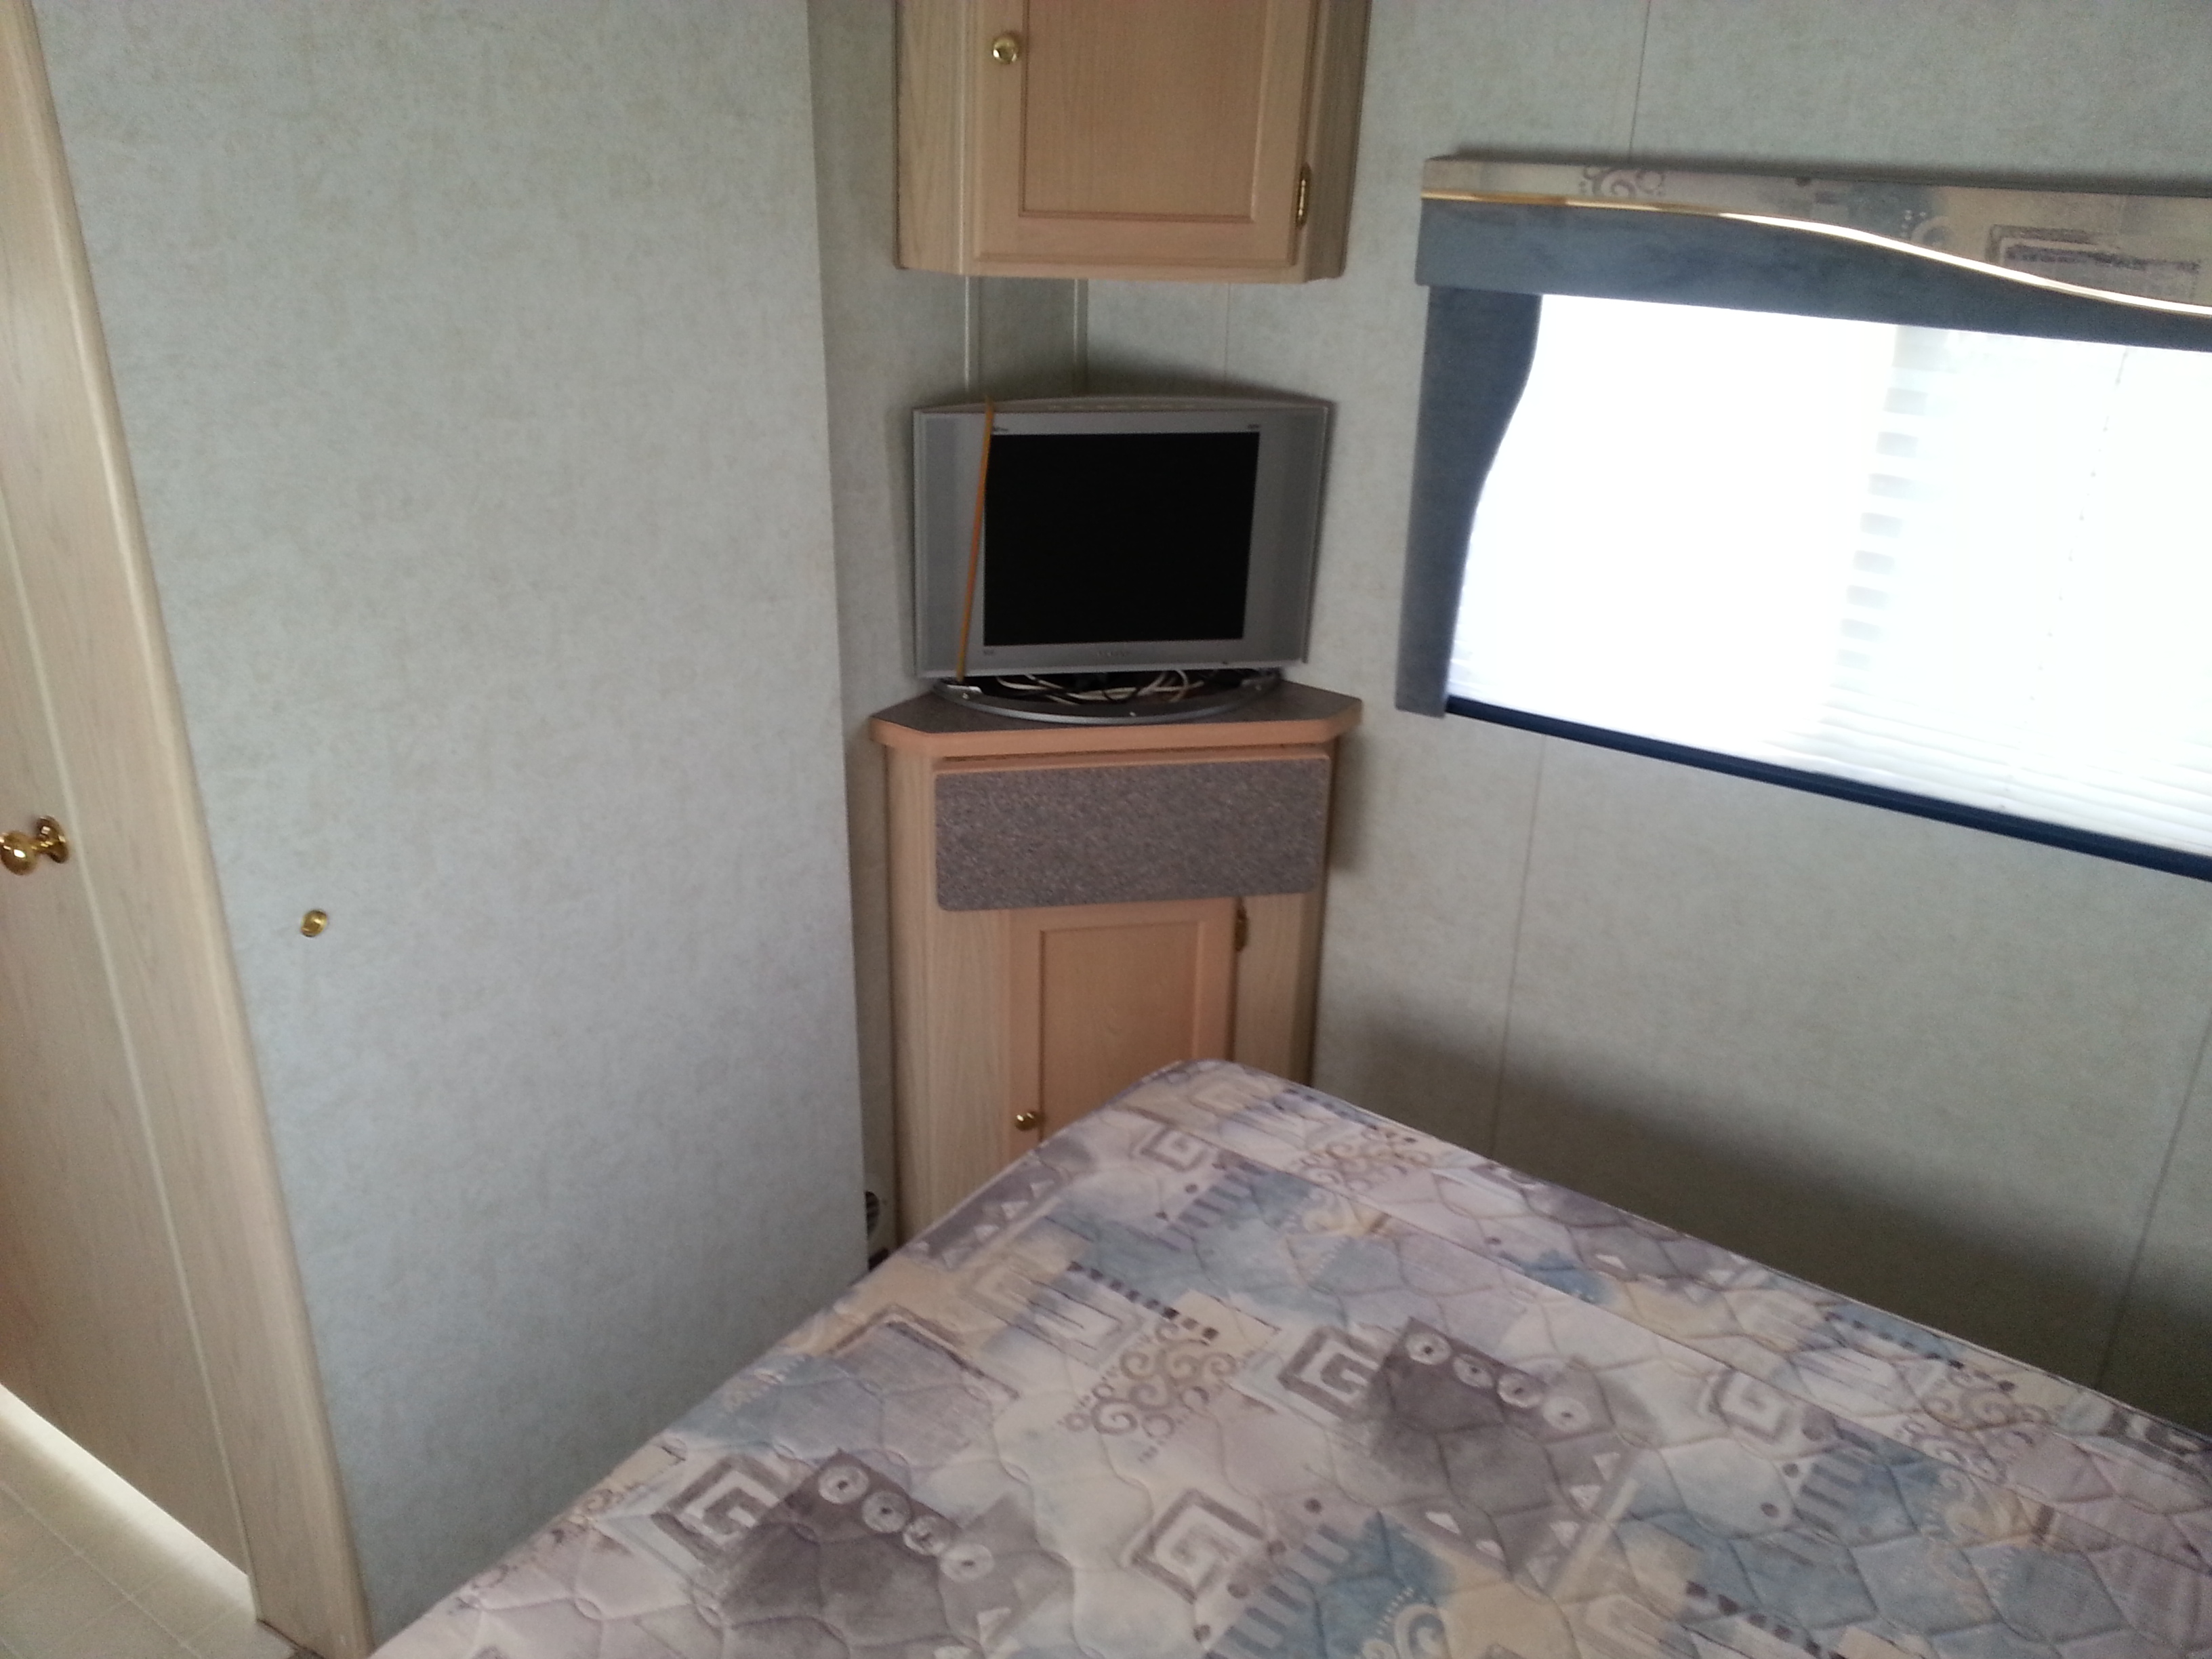
It has a few things that needed repair (and a few yet to be repaired), but it was certainly livable as in the state we it pulled up to our rental unit. However, we have much bigger plans than that! The very first thing we did, after giggling about what we just bought and the fun we’re going to have, was tear out the bed in the rear bedroom. The reason for this is that it’s just my wife and I living in here and I feel the bed is better situated in the cabover portion at the front of the coach. Bedrooms are for sleeping, changing clothes and other activities. 🙂 So the cabover arrangement leaves plenty of room in the back (relatively speaking) for cabinets and dressers where clothes, pantry items and other household items can be kept and easily accessed for a couple of full-timers. In many coaches, the potable water tank and pump are found beneath the rear bed, accessed by lifting the mattess on a hinged platform. This would normally present the problem of re-situating the water tank and associated plumbing in an accesible compartment built into the rear room somewhere, or completely relocating it elsewhere. The good folks at Bigfoot Industries placed the water tank in an insulated sub floor area along with the graywater and sewage tanks. So, there was nothing but open floor underneith our bed. Nonetheless, disassembling the bed was no easy task.
Everything in this coach is built with many small sticks of lumber and THOUSANDS of small screws. If you ever attempt to perform similar work, be sure to have a battery drill or nut driver and a bunch of #1 and #2 square head bits, because that is 99% of the coach hardware. Also, a hammer and a pry bar are helpful too because many things are glued together.
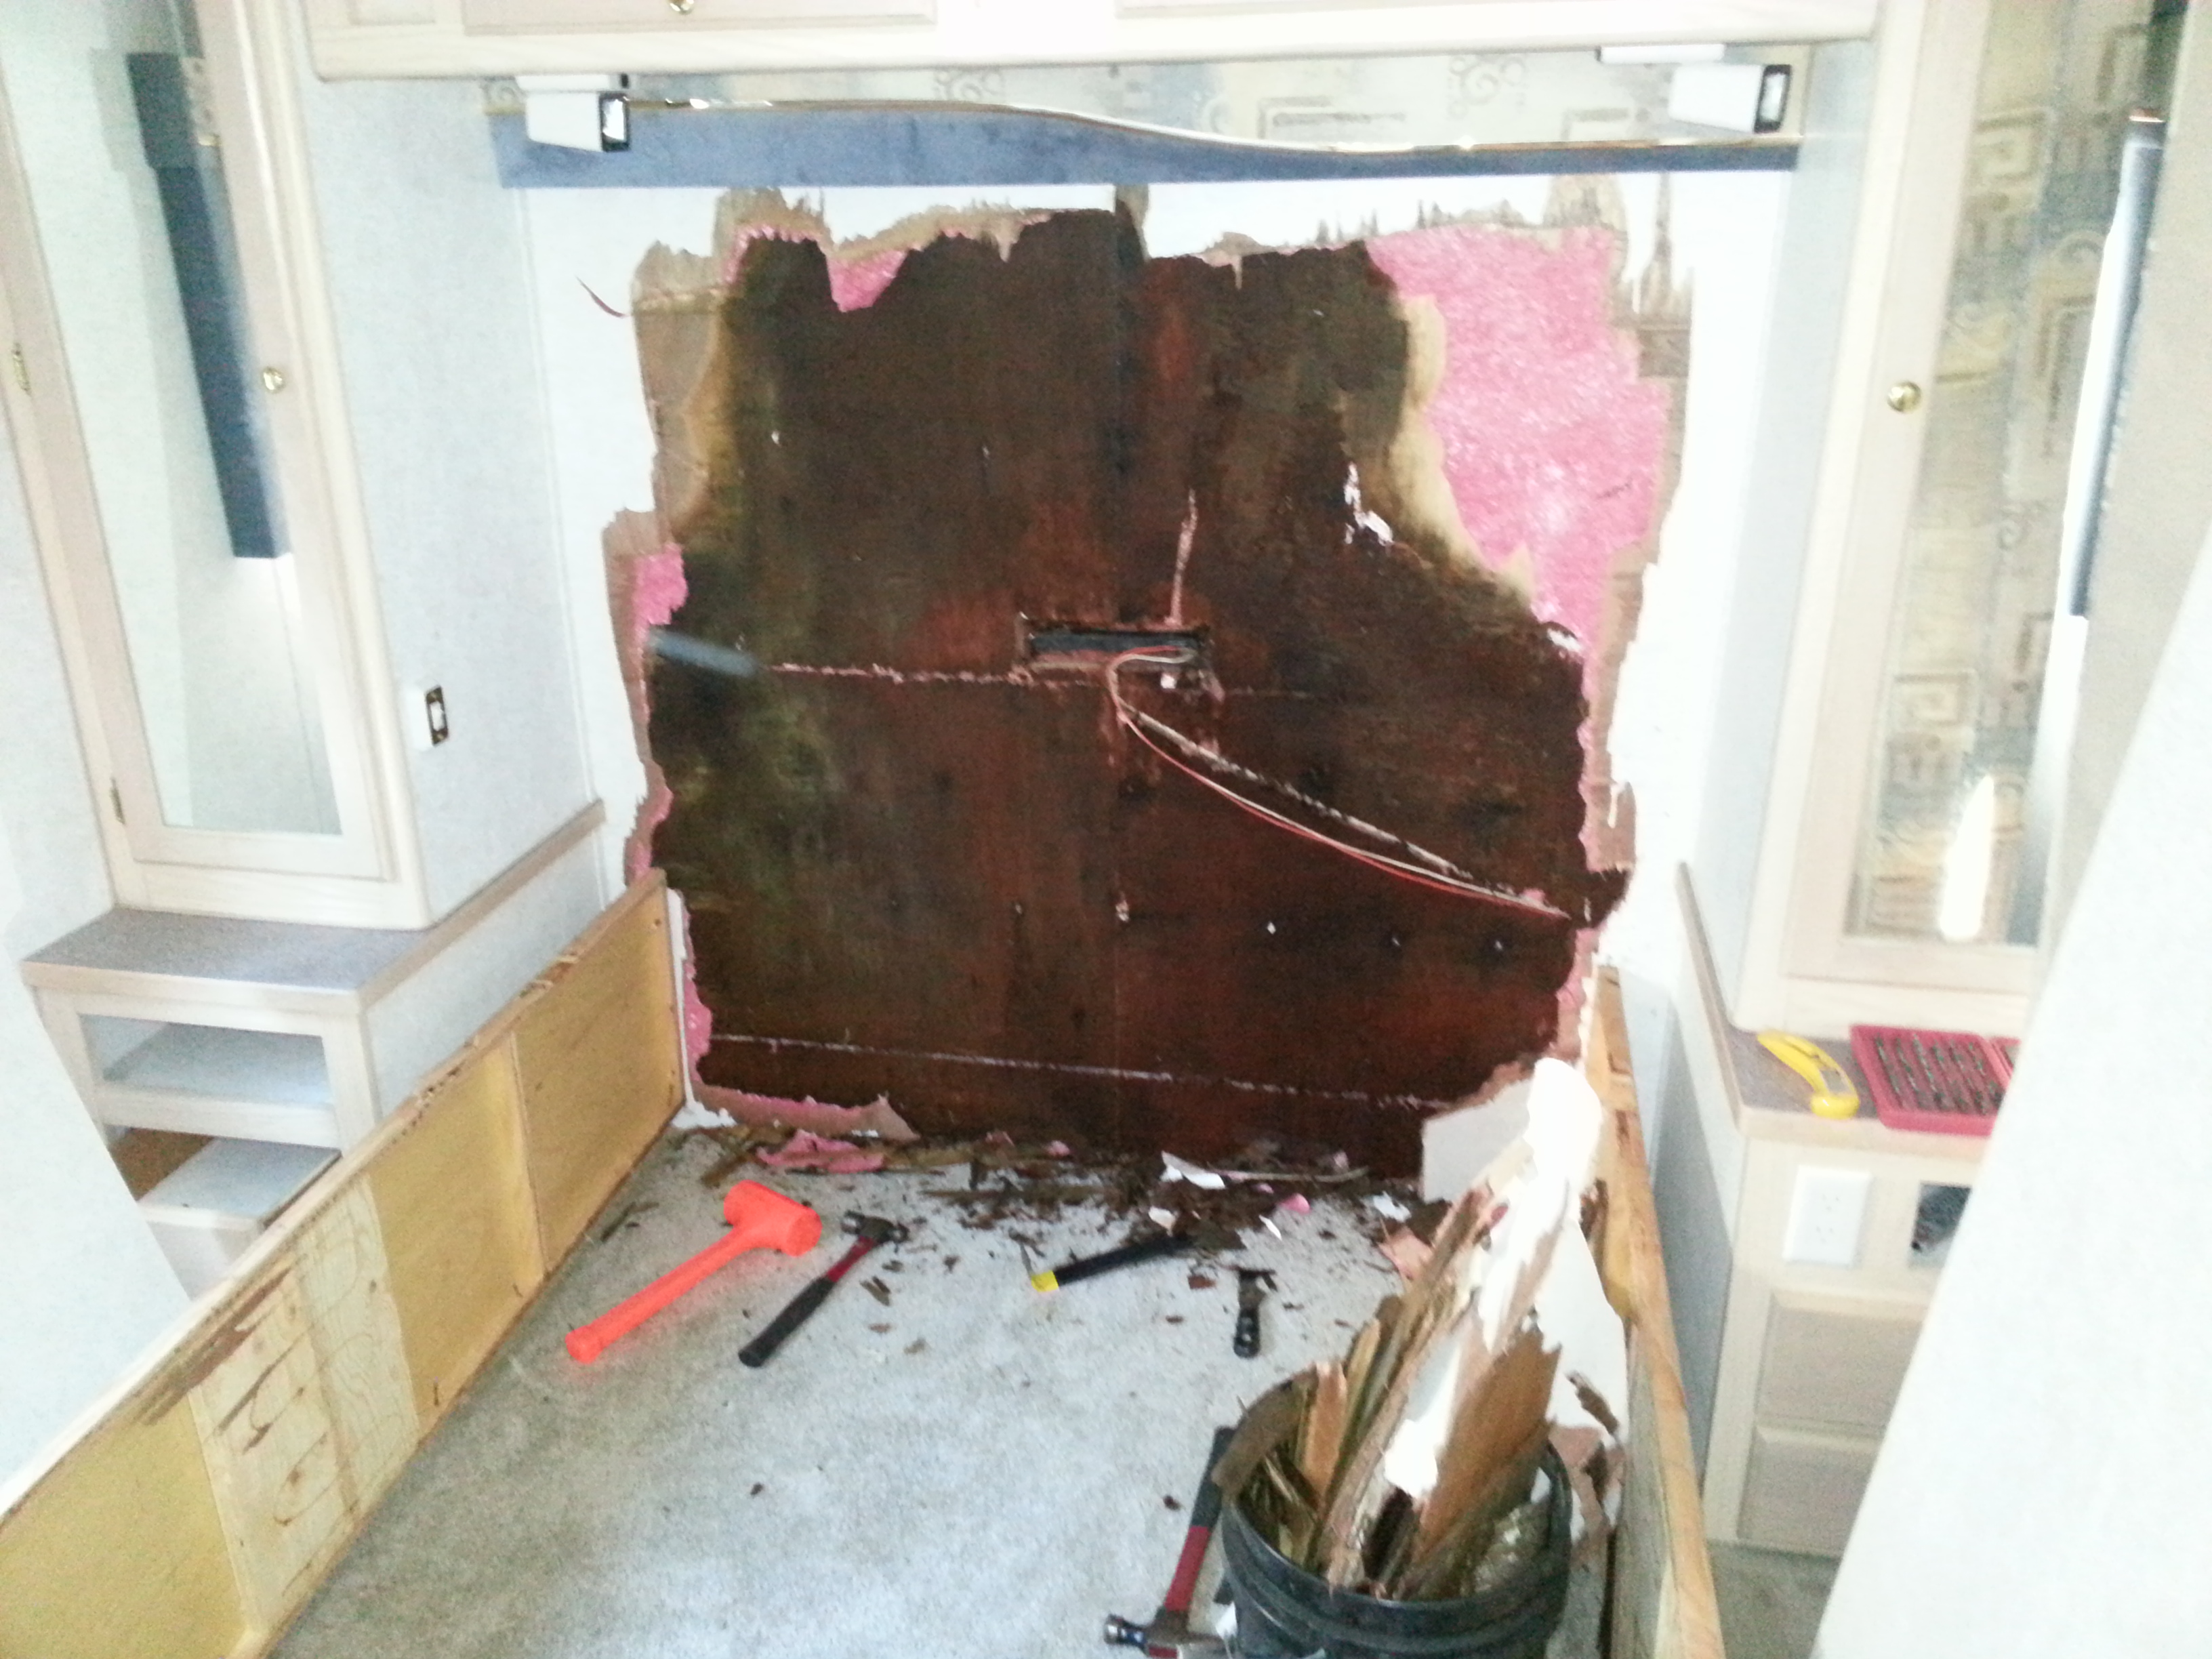
Once we removed the headboard from the rear wall I noticed some discontinuity in the paneling. Without much investigation it was clear, we found a leak! Actually, we found the results of a leak. After tearing away the glued paneling from the polystyrene insulation, it looked like the rear view camera mounted at the top center of the rear was the culprit. Sure enough, upon inspection of the camera, I noticed the sealant around the wire was gapped. I covered the area with plastic and duck tape until I could get the material to repair it. Inside, I removed as much of the material as I could manage while Erin worked on dismantling the entertainment center in the cab-over in order to make room for the eventual queen size mattress.
Now all this was happening the day we cut a $21,000 check for the coach. But, no worries! We knew there were going to be leaks, there always are. And, I’m glad we found this one becasue it would have been difficult to notice without tearing out the rear bed. I suspect the previous owners didn’t even realize it was there. No hard feelings. Now if this were a Winnebago, especially an older one, I would be worried. But, since the coach has an aluminum frame, there is no concern for structural issues. What matters is that I repair the leak and remove the damaged material. With a Dremel routering tool I trimmed all the wet paneling from around the cabinets on either side. I could have torn both of them out in the process, which would have made it all easier, but I wanted to retain the storage. A future remodel may include doing just that. A few days with a fan, heat gun and big ass dehumidifier dried everything out. That is until the next rain when I found the water to be coming in primarily from the rear marker lights. I was planning on resealing them anyways, and after seeing that the water was probablty coming through the lens cover, I just replaced them with equivalent LED fixtures from Camping World. The five amber lights on the front of the coach will be replaced soon.
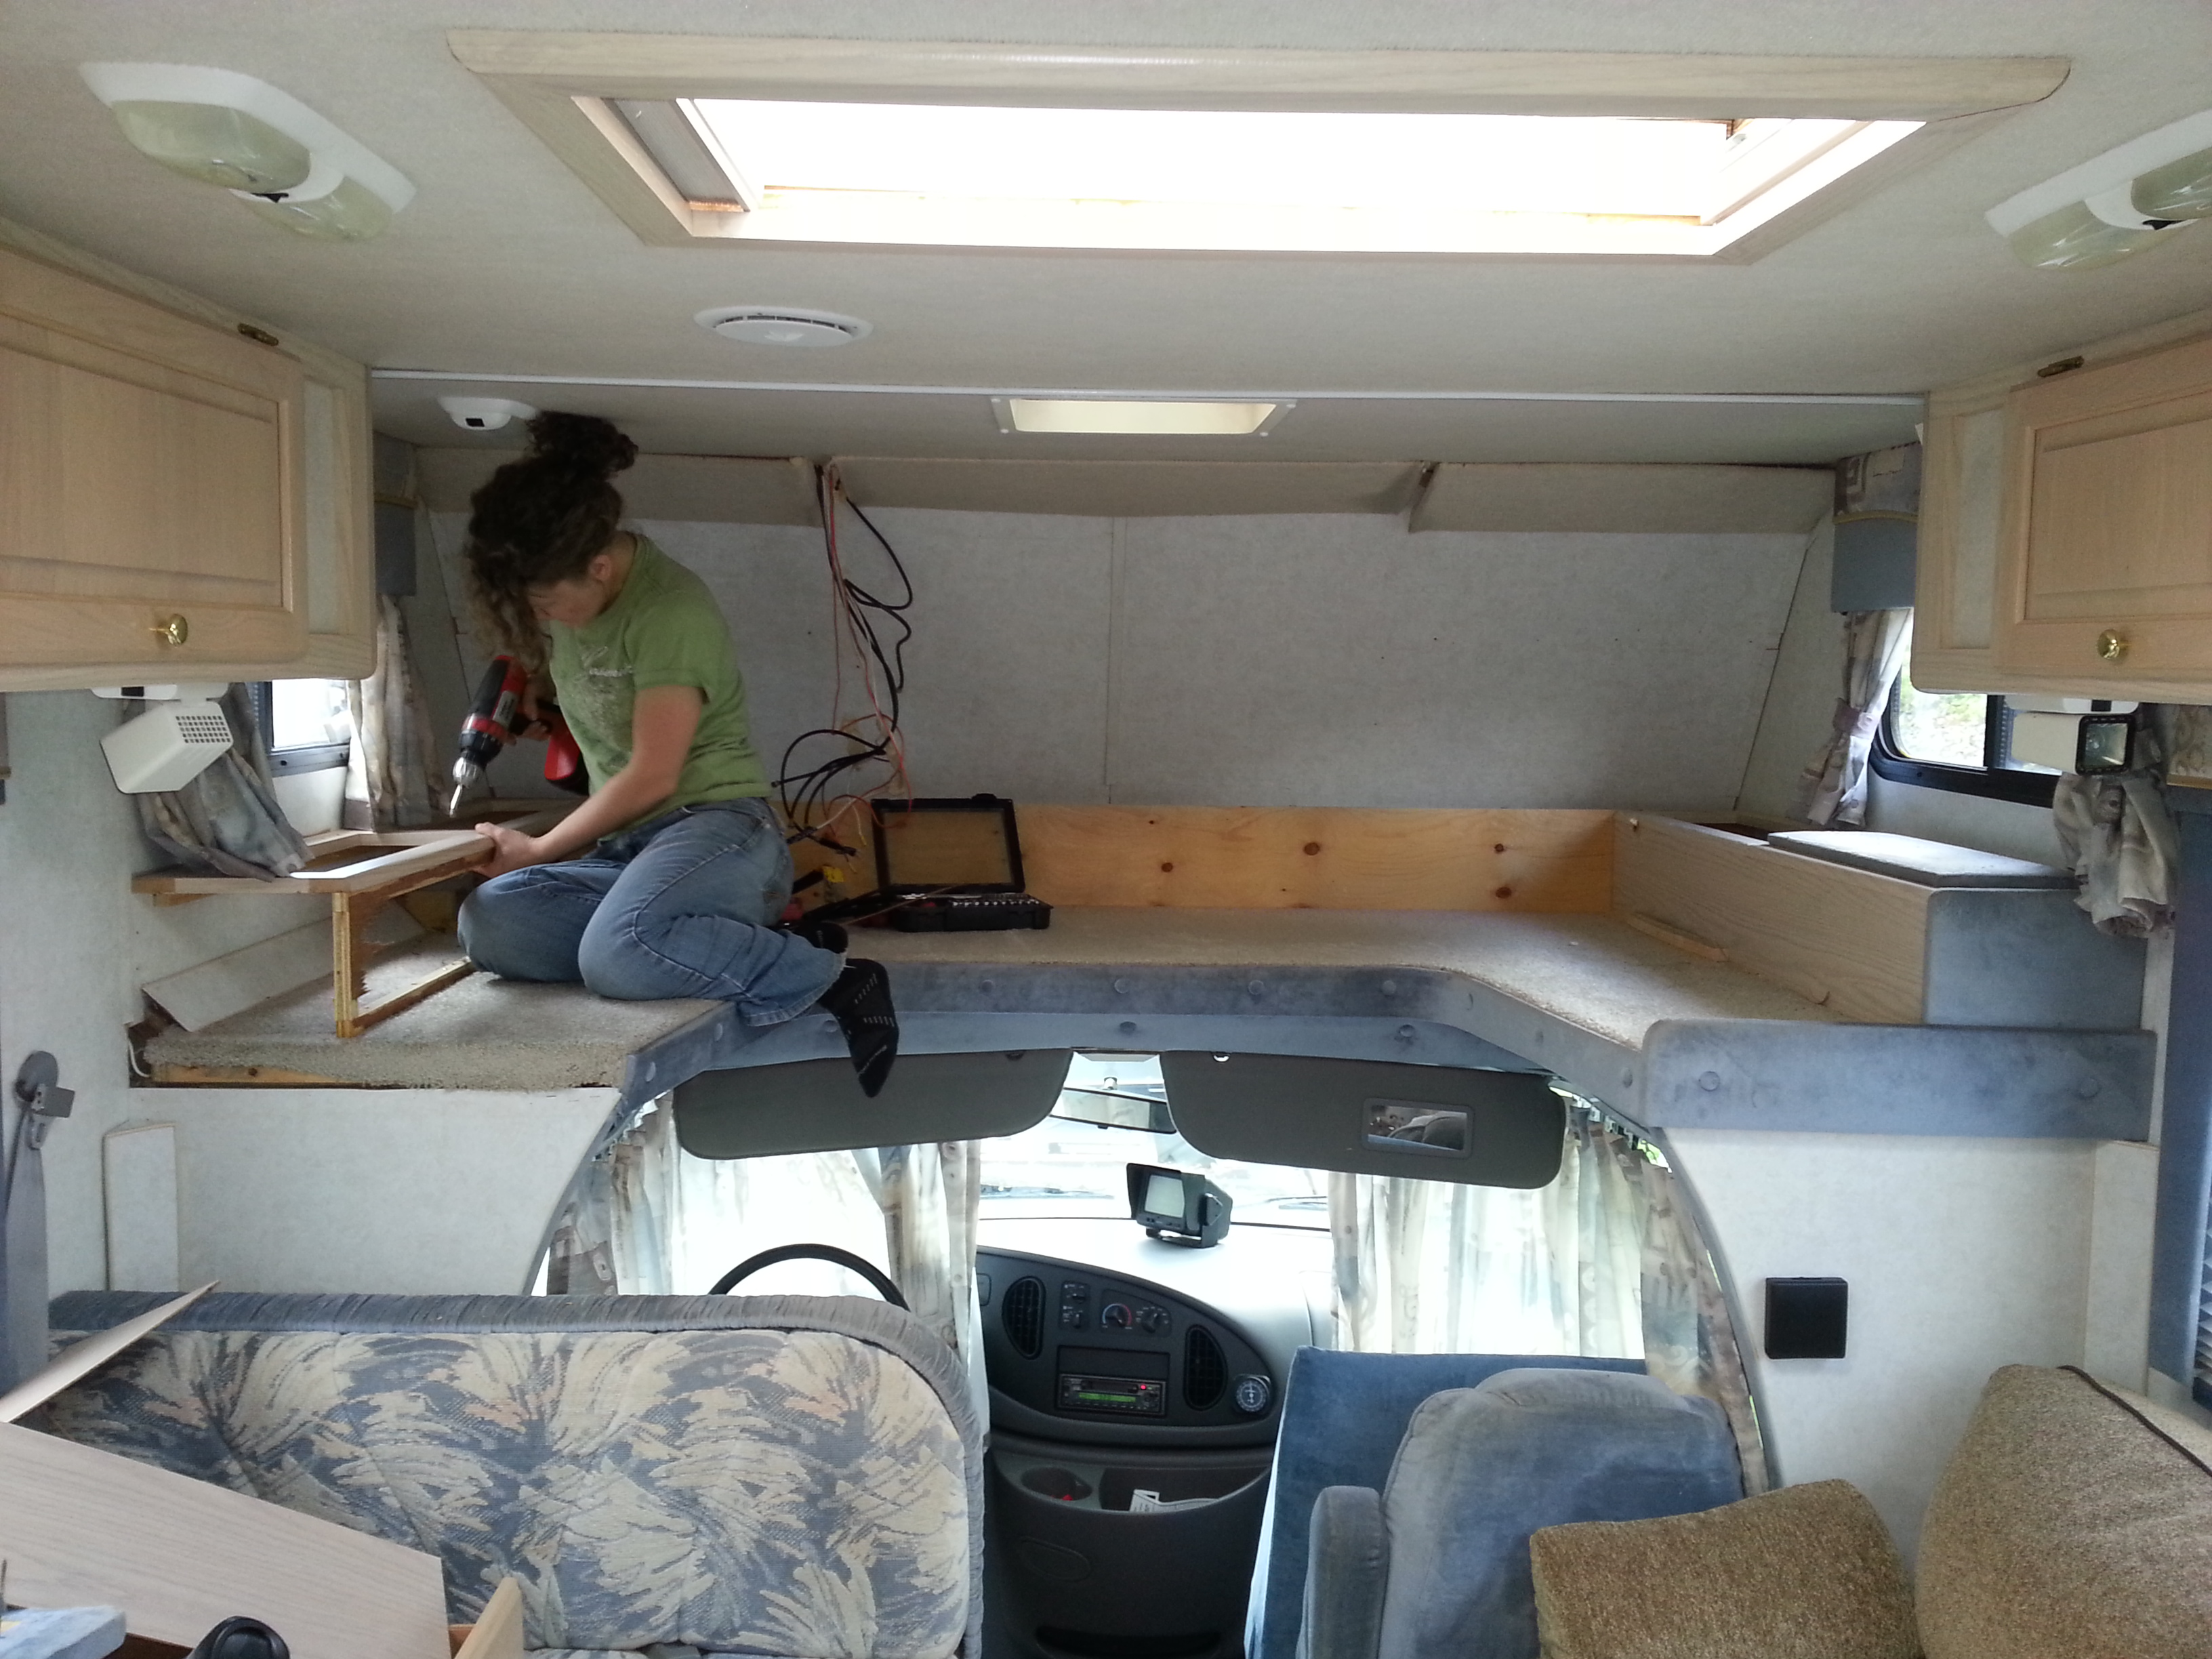
Once Erin was done tearing out the entertainment center and little trundle bed in the cabover, I built an extending platform that will hold a queen size mattress. I’m not much of a carpenter, but all in all, it turned out well. Some additional cubby-hole like storage is coming in the sleeping area, but not until we move in.
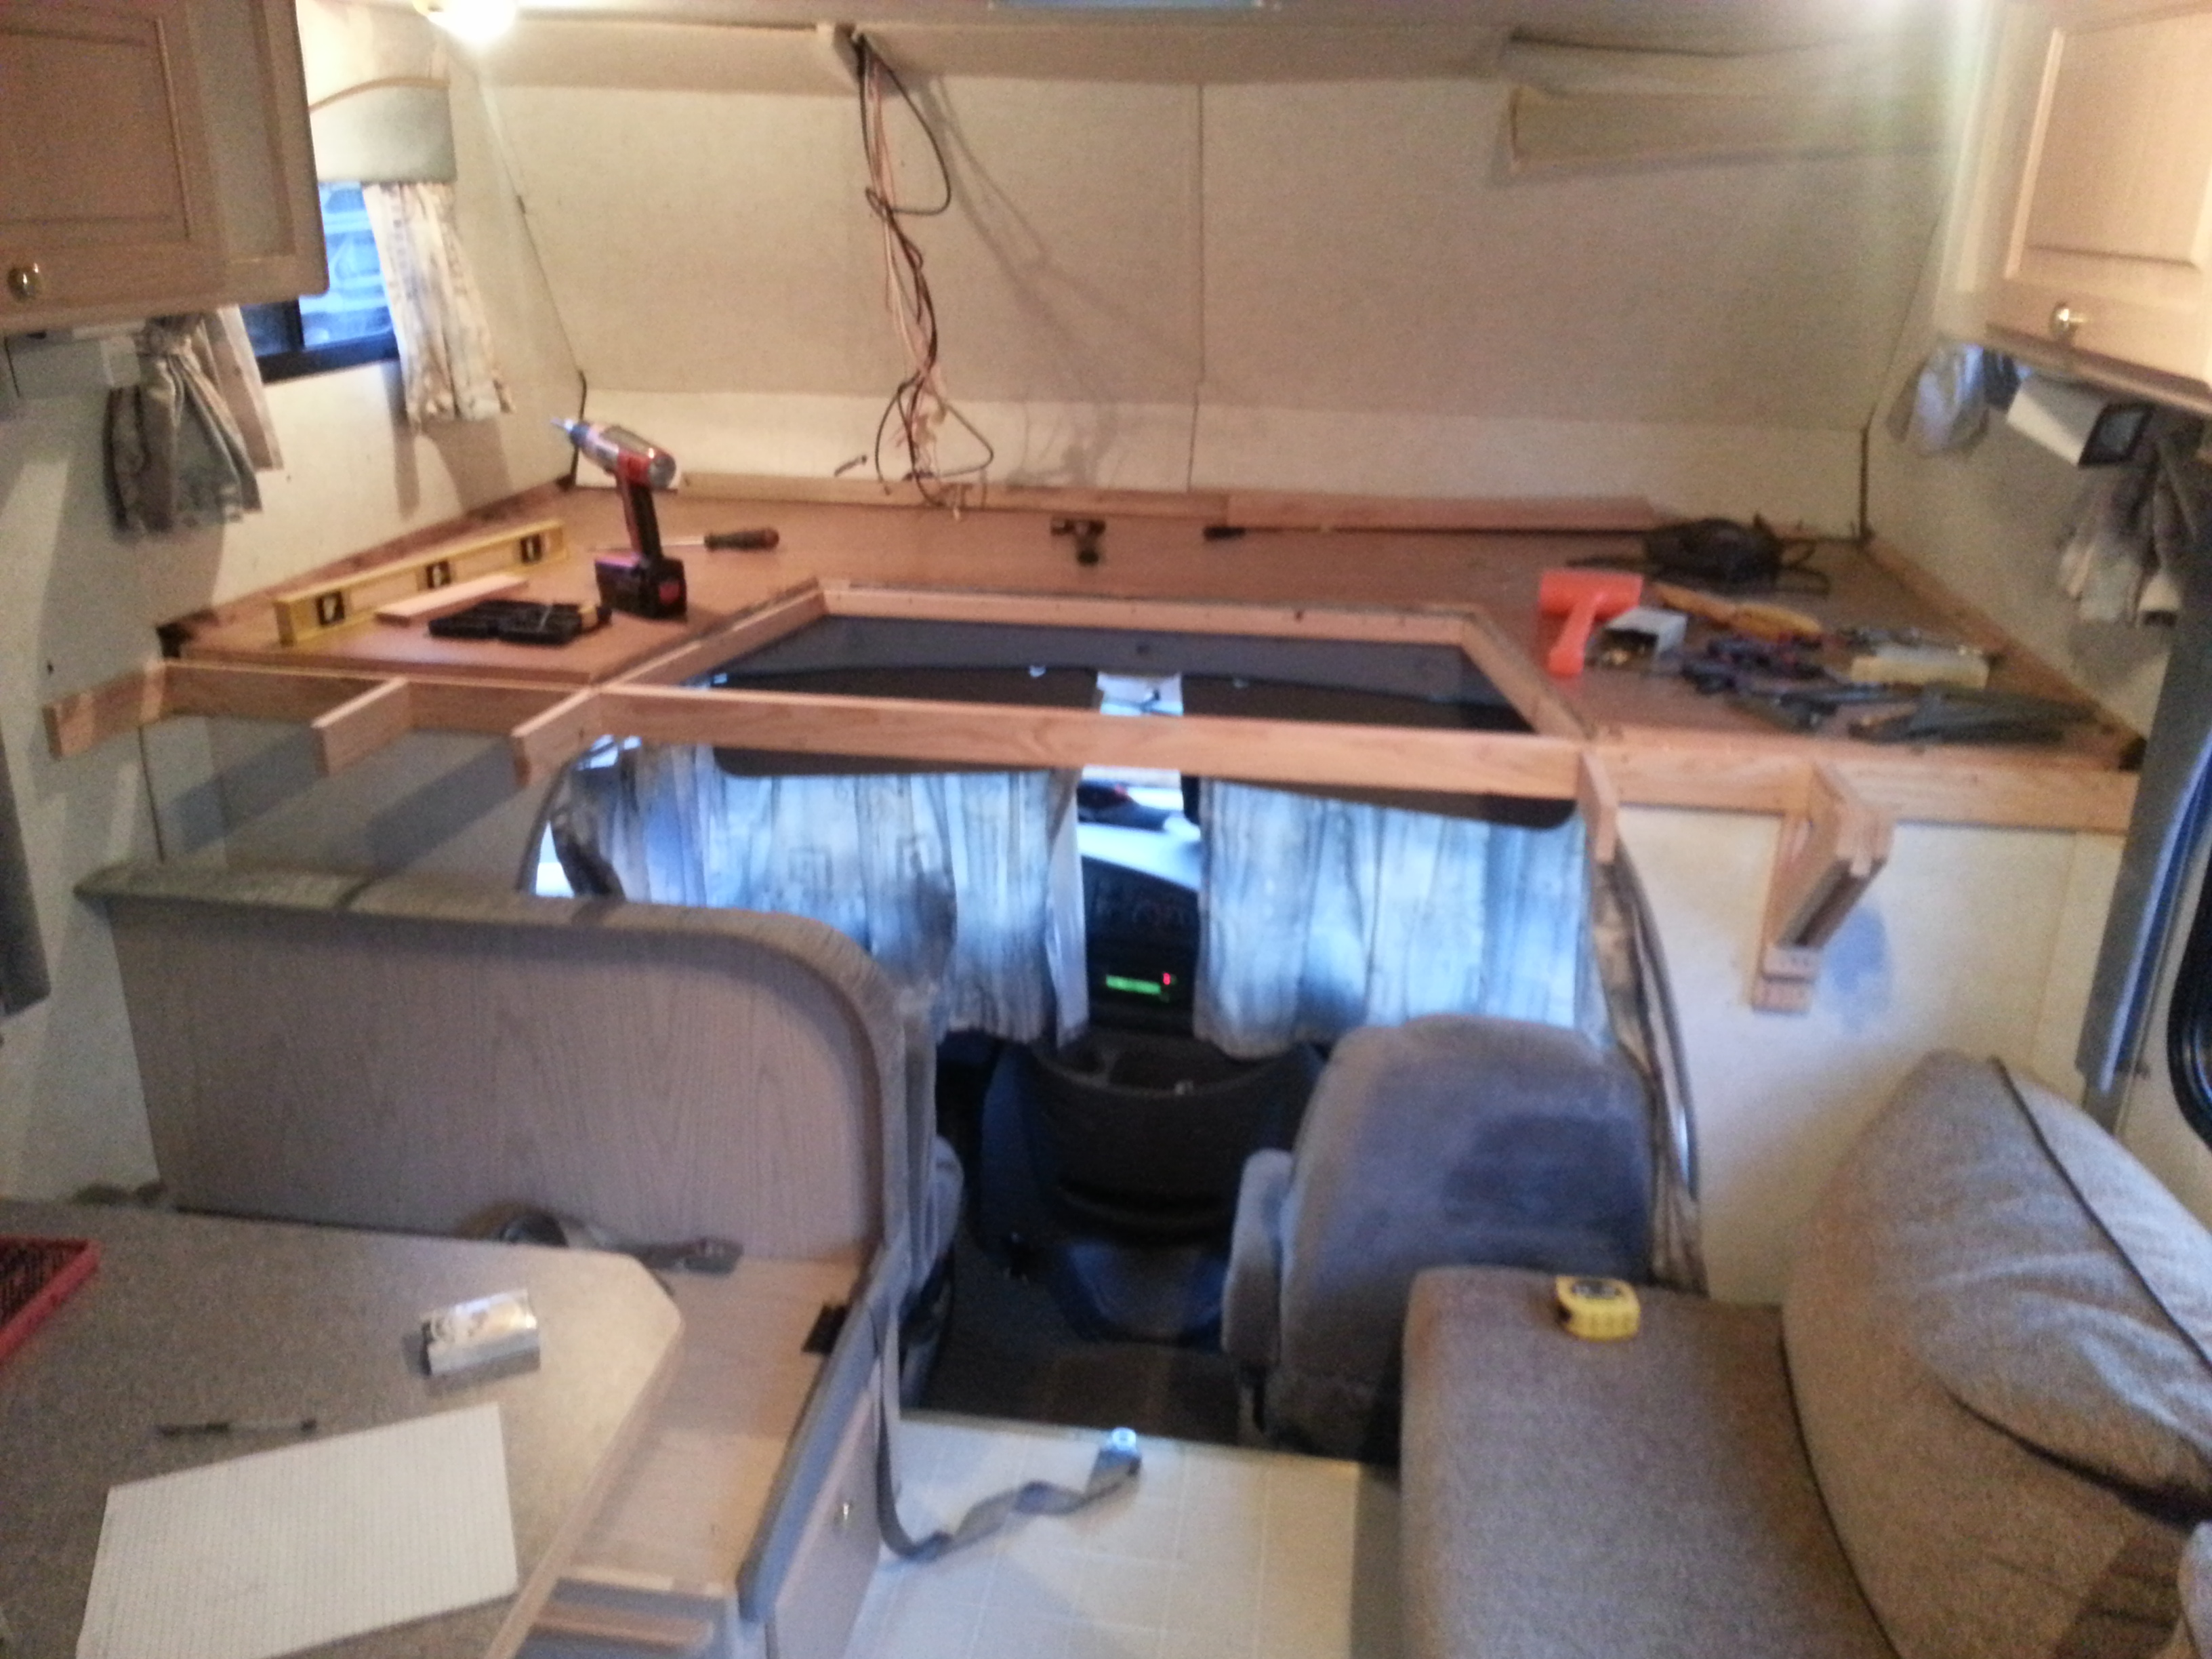
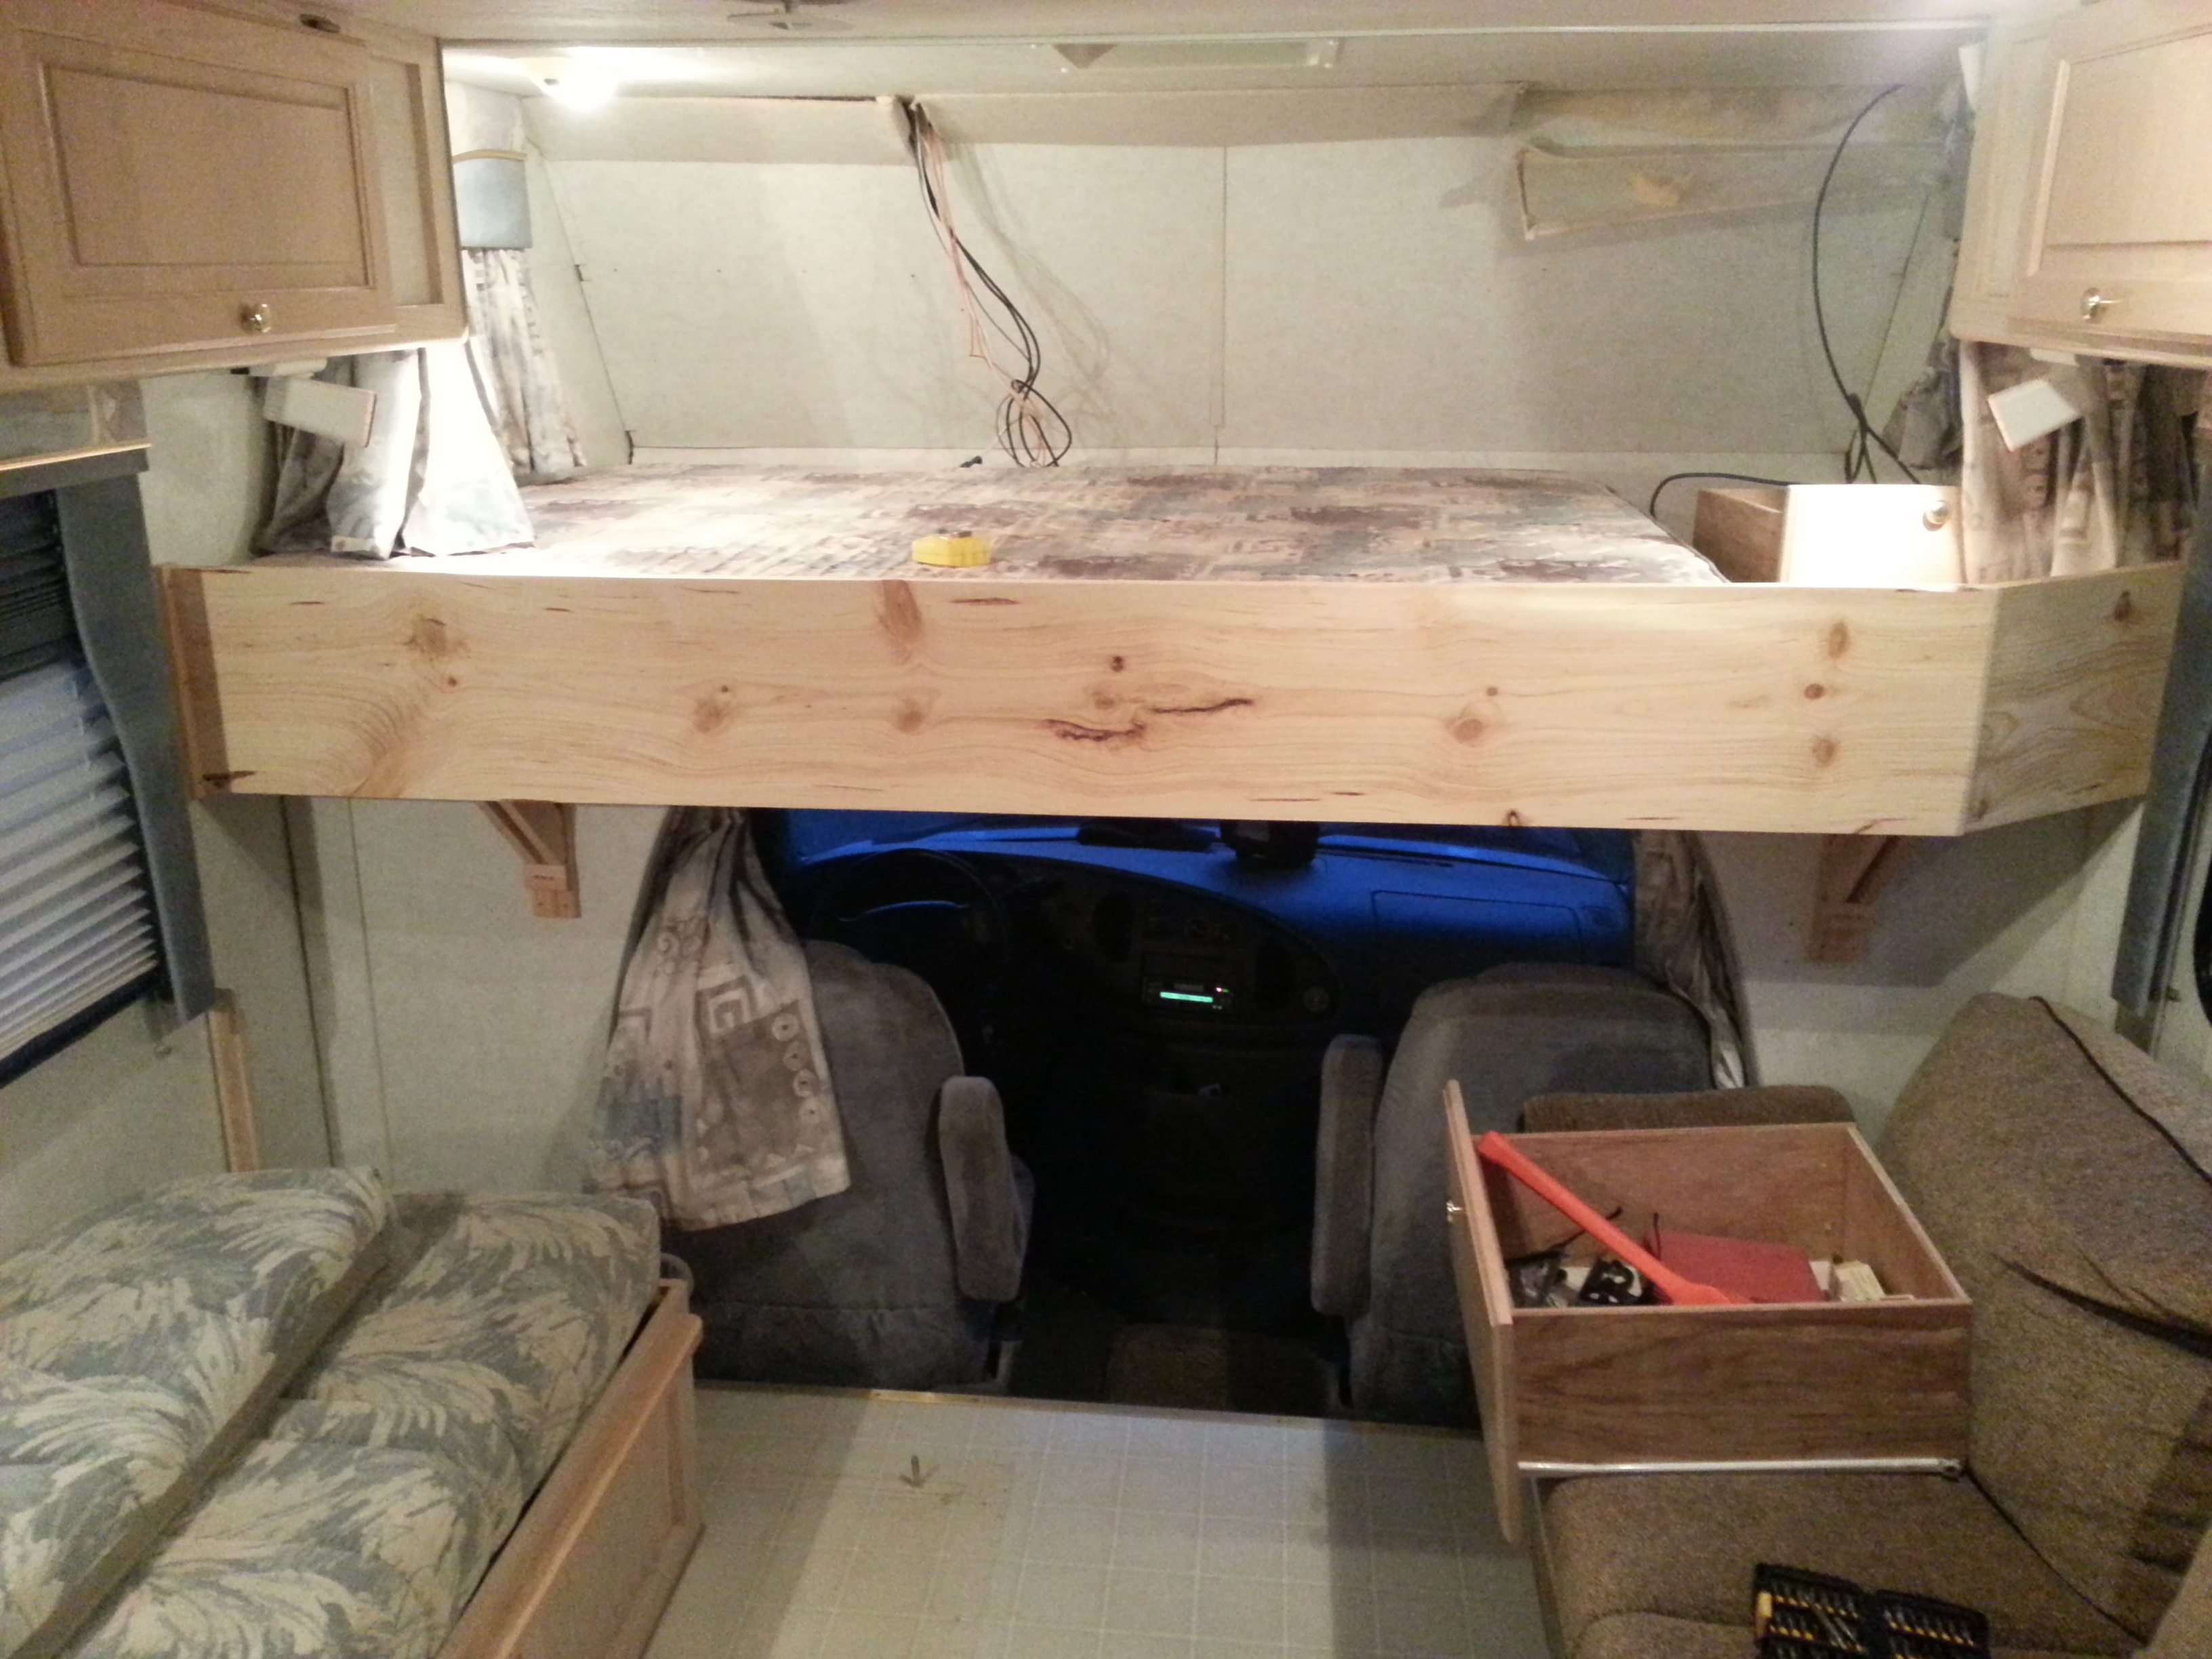
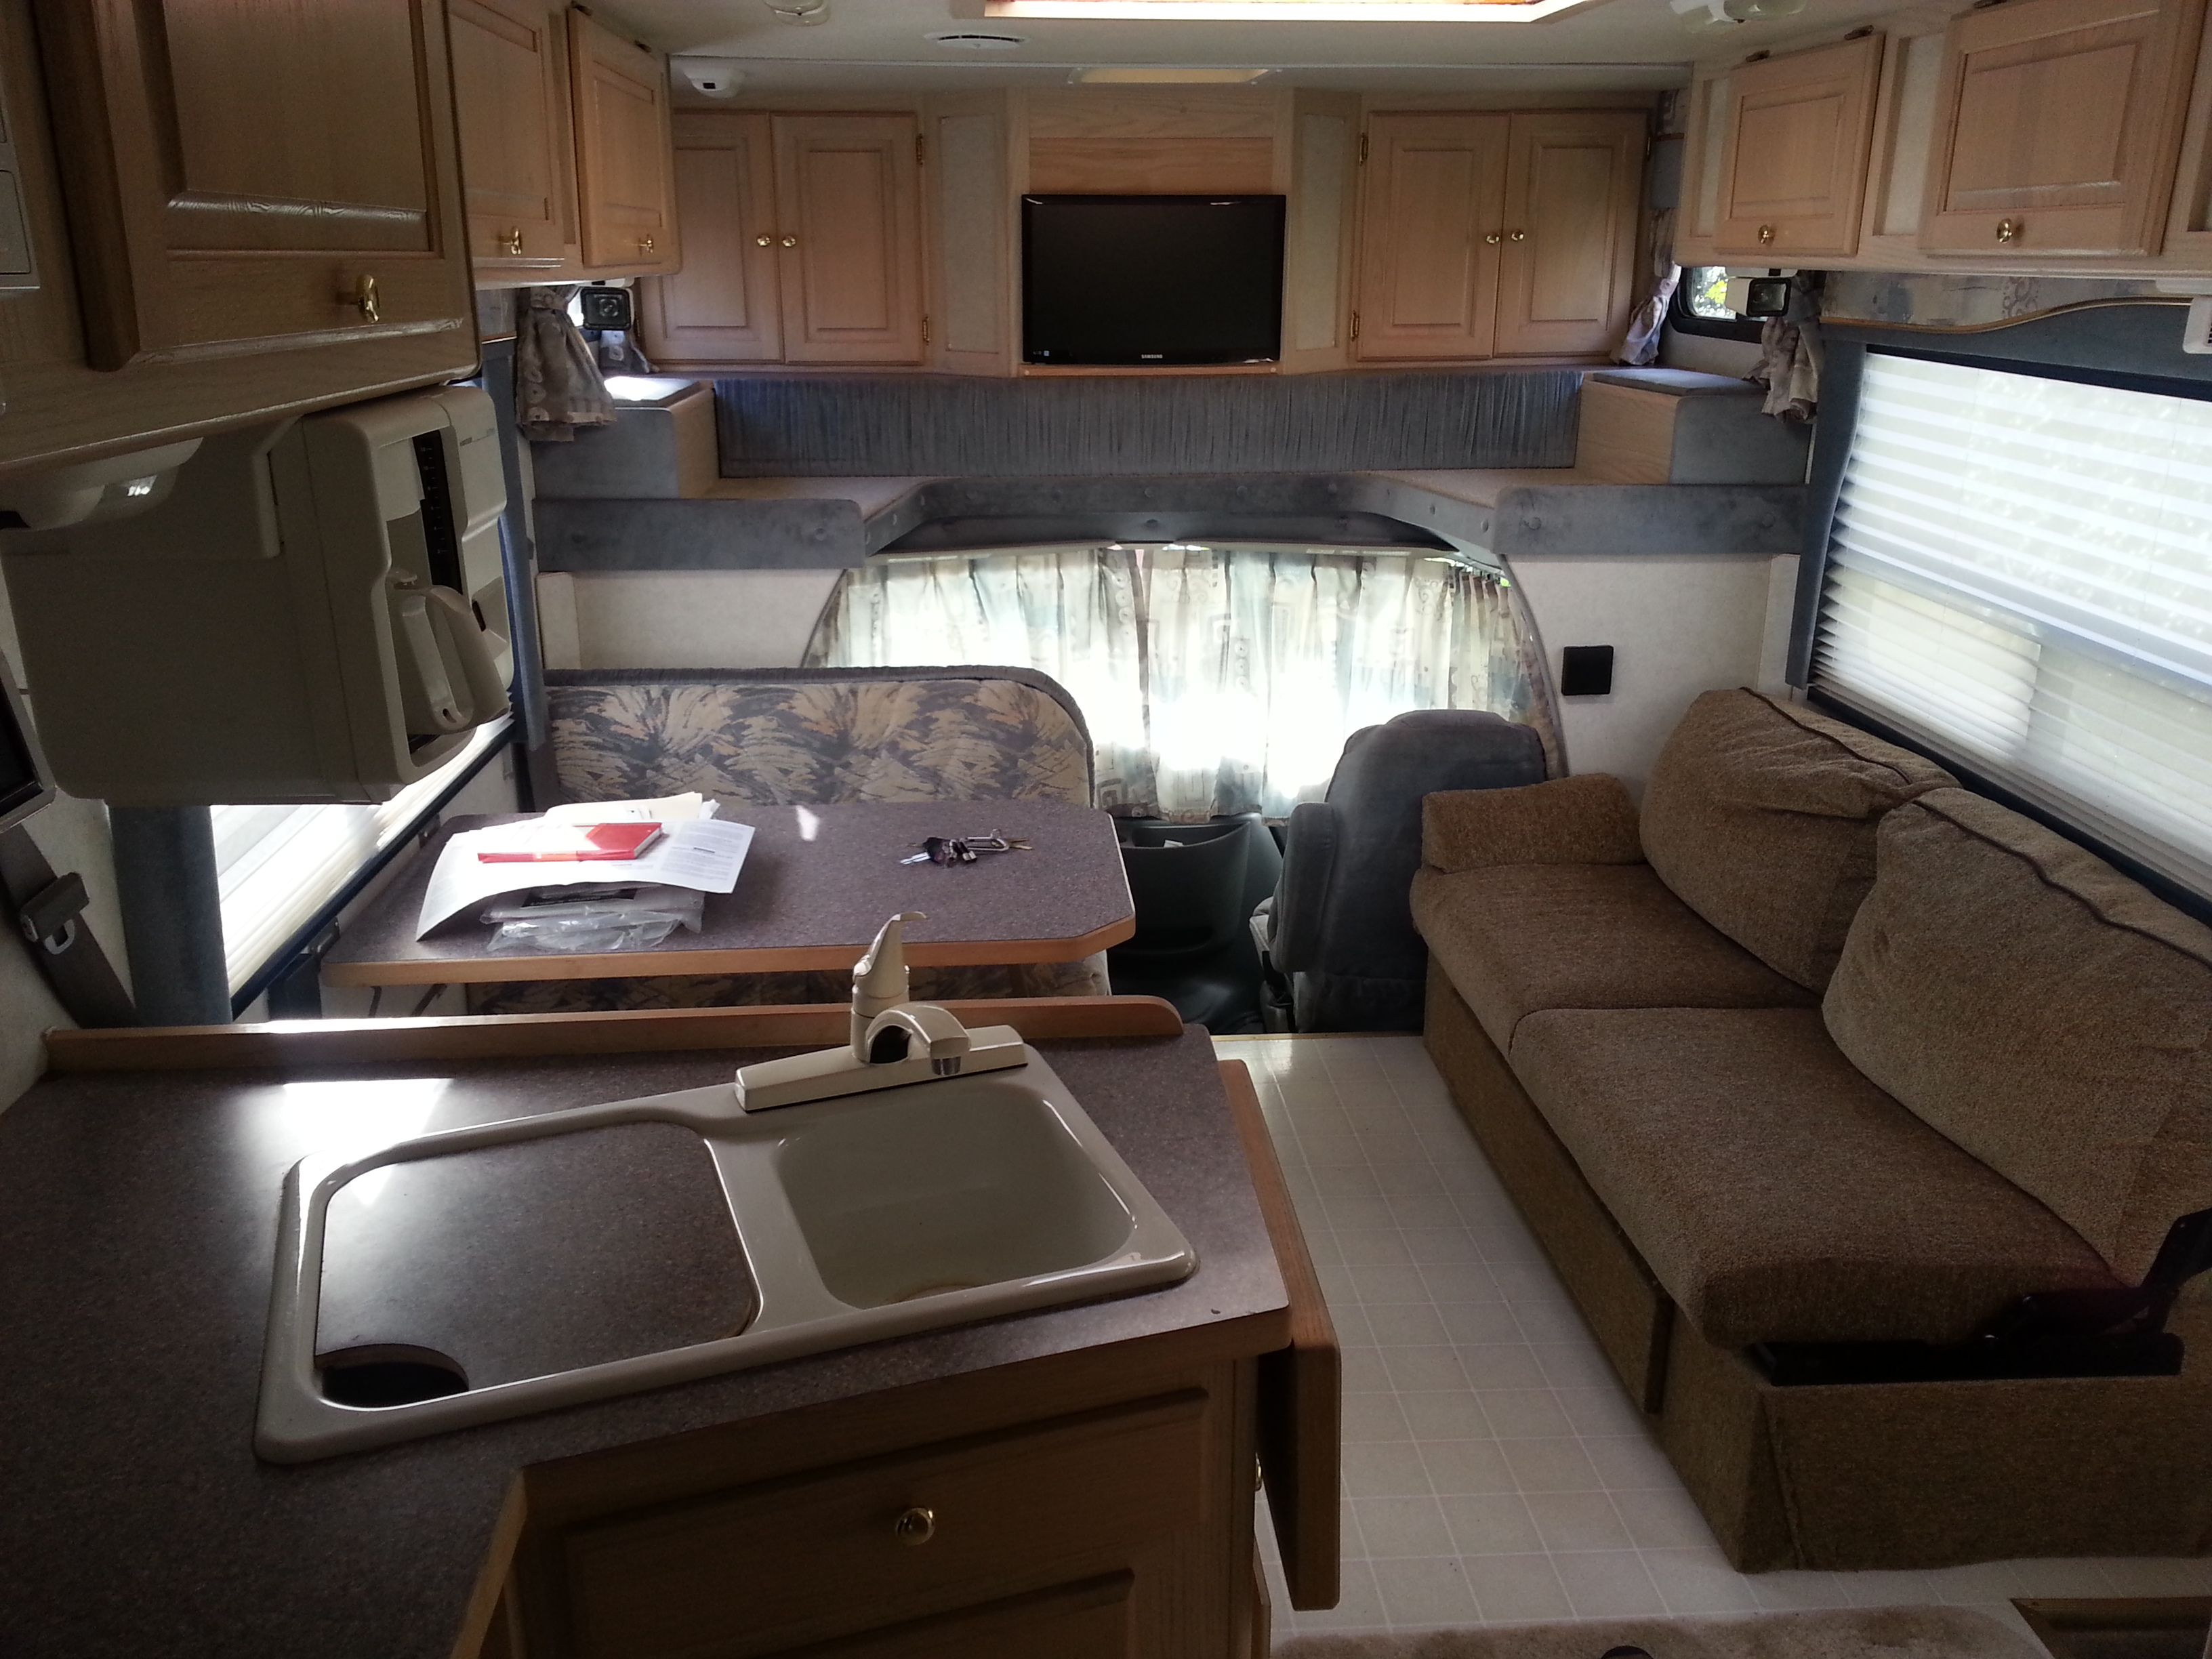
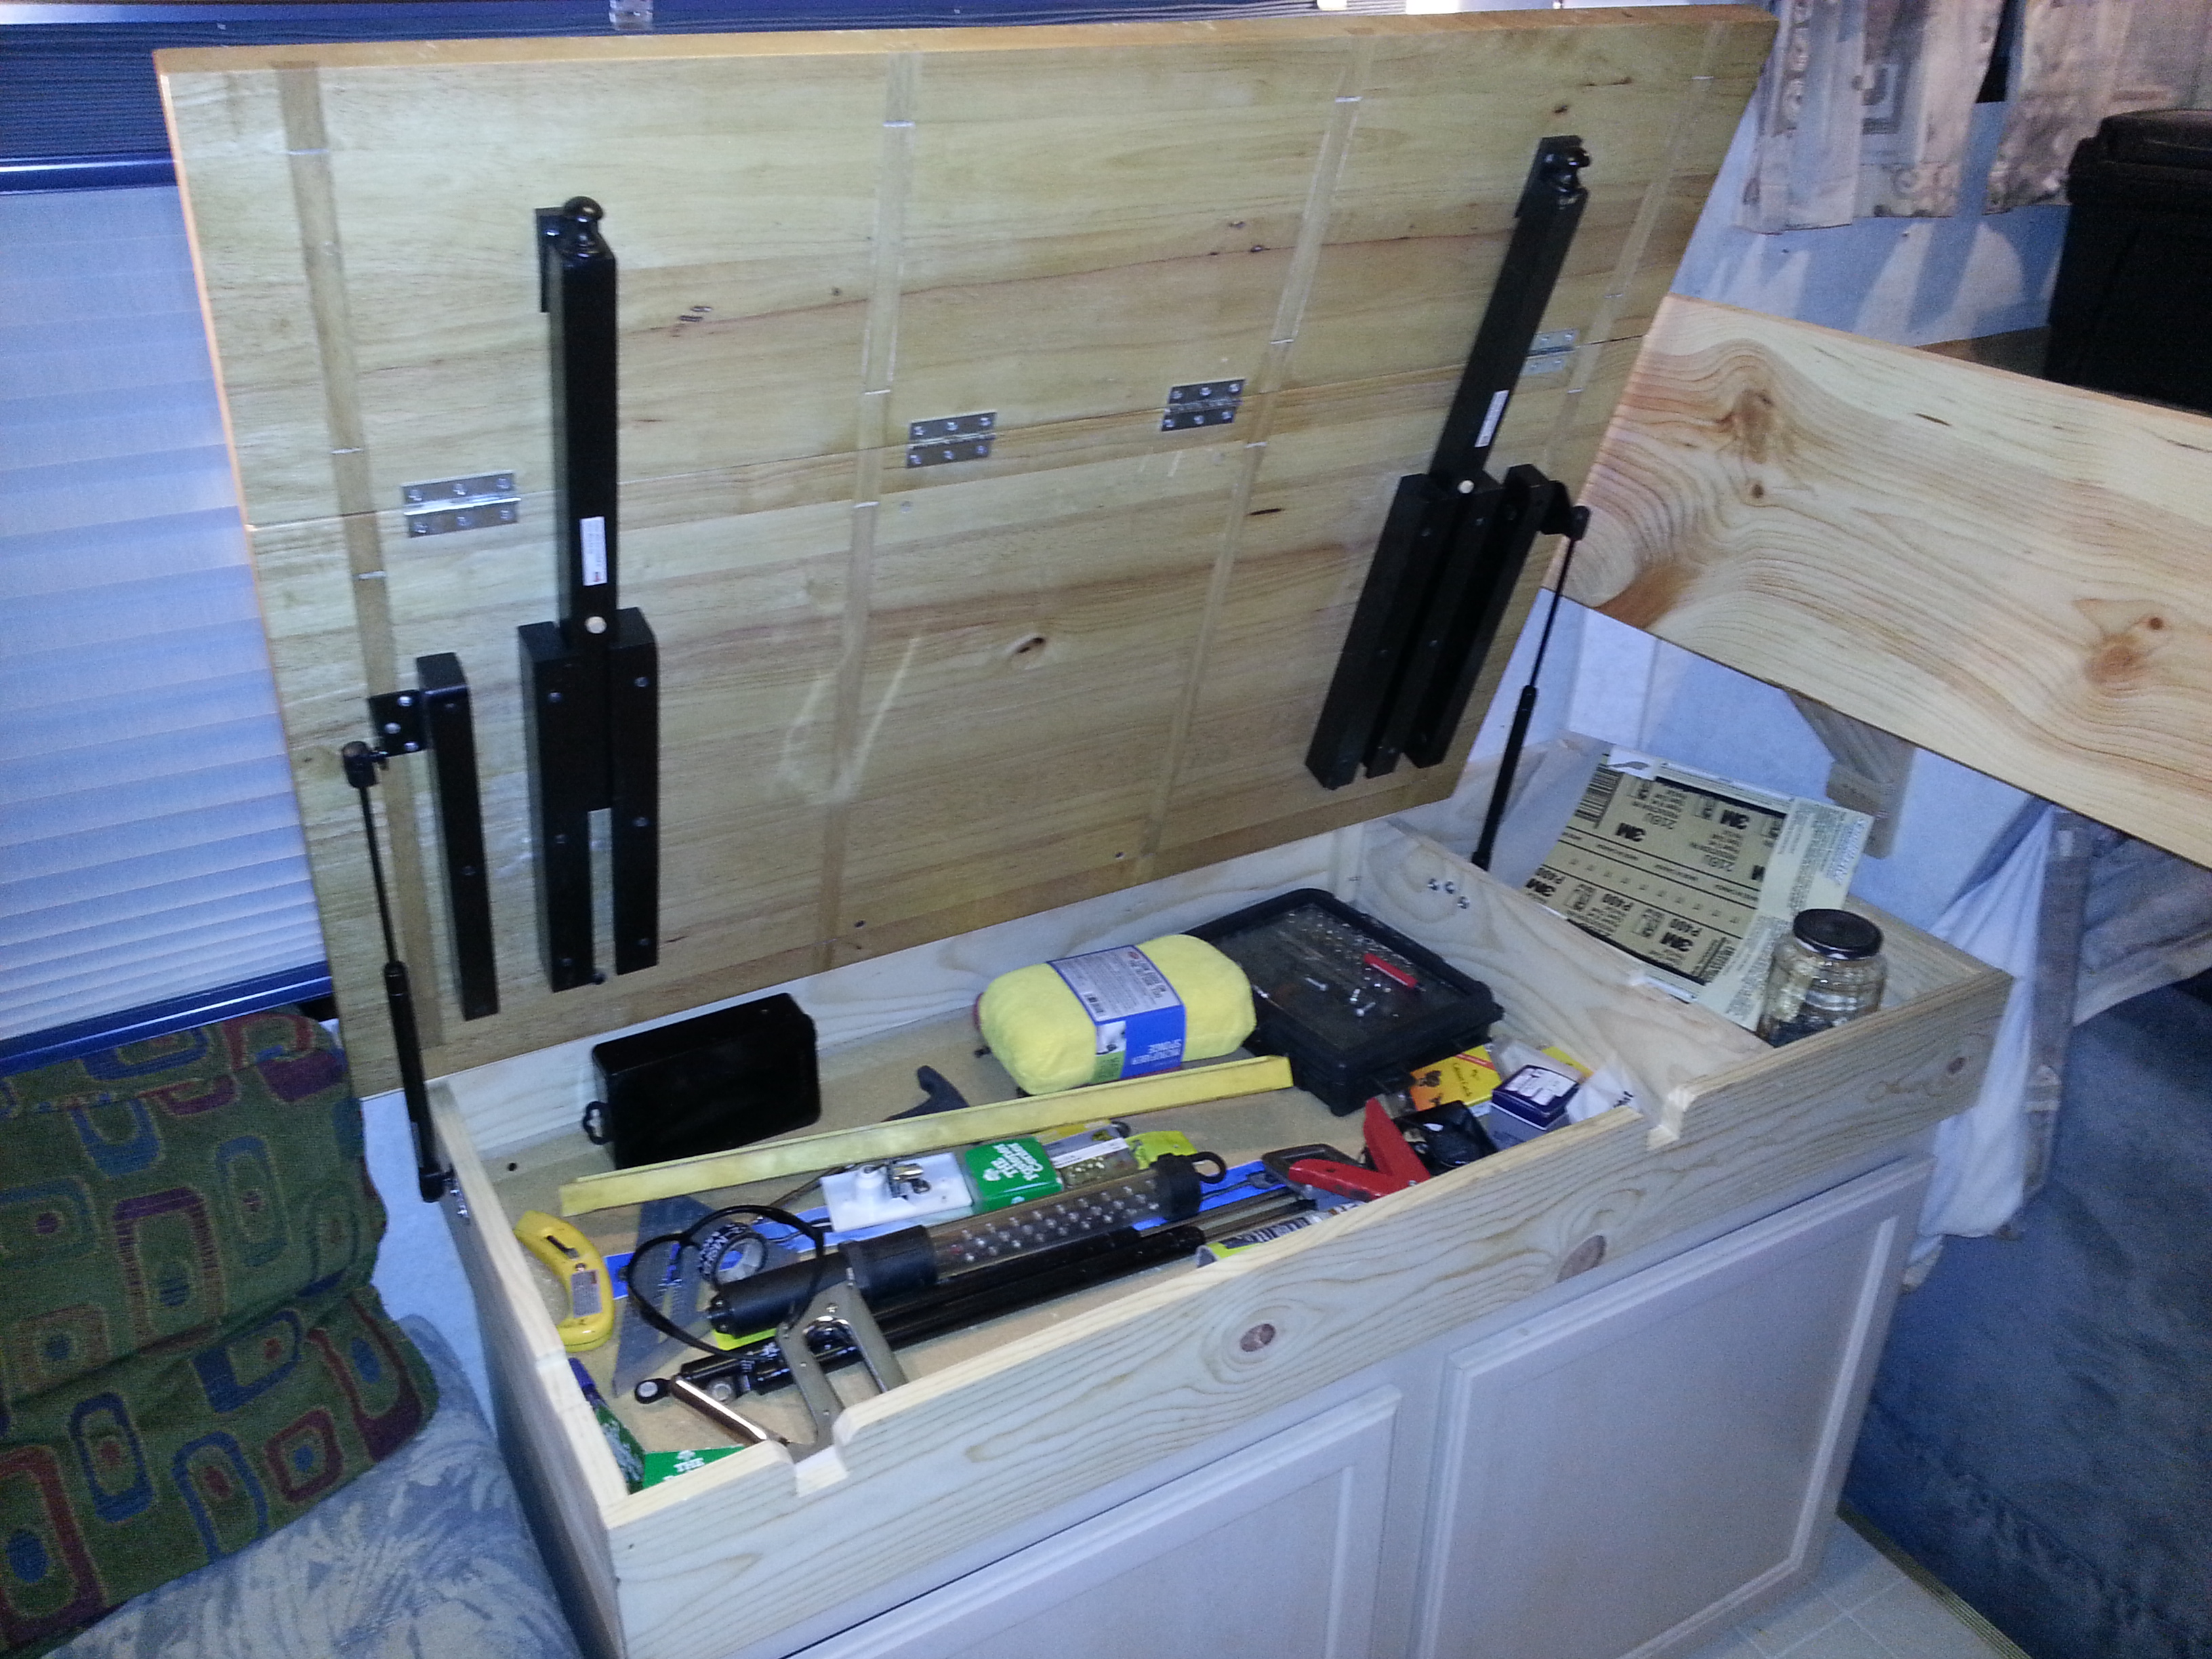
The next project was rearranging the front seating area considering that the bed platform now extended over the forward booth, leaving the opportunity to crack one’s head a sure bet. I considered rotating the booth 90 degrees, but it just didn’t feel right. Also, considered moving both of them to the other side in place of the brown couch. None of this felt right, so I just tossed the booth and looked for a kitchen cabinet that would fit. We have a a wooden tabletop we bought for $5 in Maryland that has never been used. We found a cabinet at the Re-Store, and after some modifications, I found a way to make it work. The cabinet just has two big doors on the front, but no drawers. The tabletop has a fold down leaf, so drawers would be useless. Most standard kitchen cabinets have a “toe-in” at the bottom which wastes about four inches from the floor to the bottom of the cabinet. I don’t have that kind of volume to waste, so I flipped it over and sawed the bottom off. Then, I capped the whole thing with 1″x6″ so that with the tabletop the height would be right at the bottom of the driver side window. Repurposing the piano hinge from the rear bed assembly, I rigged up the table top to be lifted up for access to a storage space created by the 1″x6″. The leaf can be folded down for more room in the living area. I bought up some gas support props from Camping World (3 times until I got the right ones), and now the tabletop supports itself when raised. A little bit of shelving in the bottom and it was about done. This cabinet, like the others, will be further subdivided depending on the what gets stored where. That is to be determined.
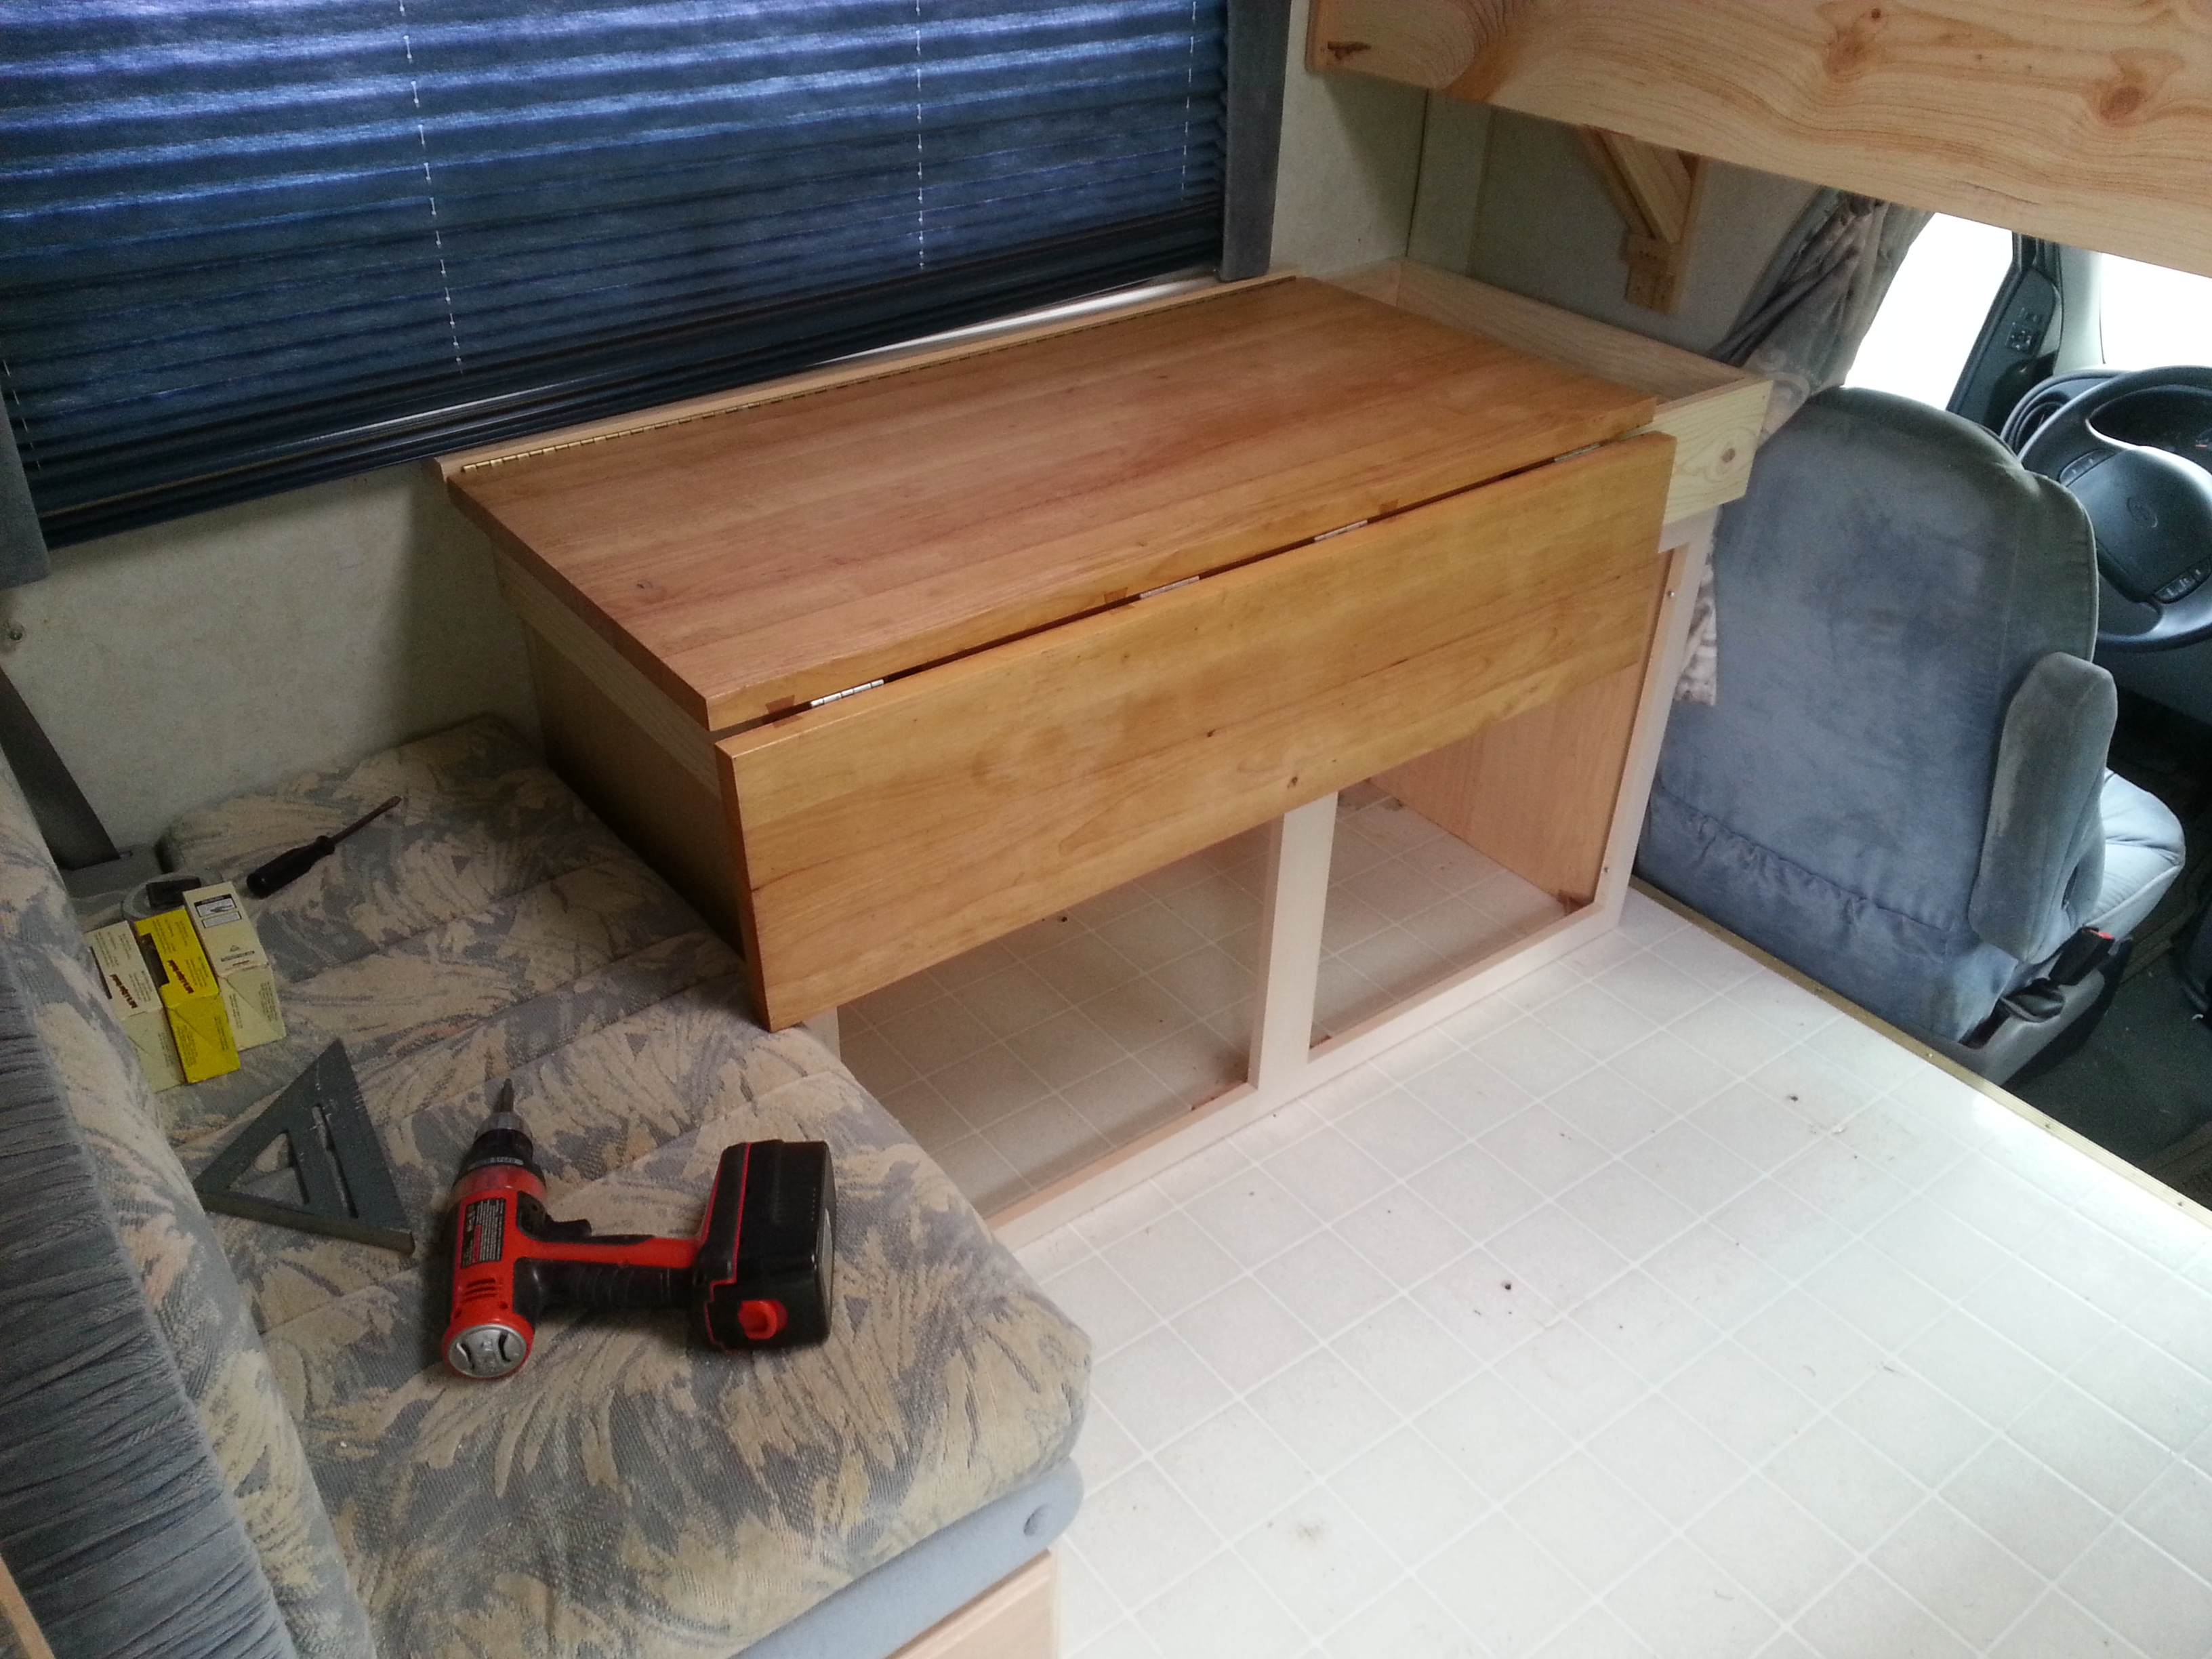
It does look somewhat strange with that ugly booth crammed next to it, however half the booth is comprised of the domestic water heater. That cannot be moved and in order to pull the booth frame out, I would have to pull many of the water lines off. So I’m not worrying about it. I’m sitting there right now writing this with the laptop on the table. Pretty comfortable.

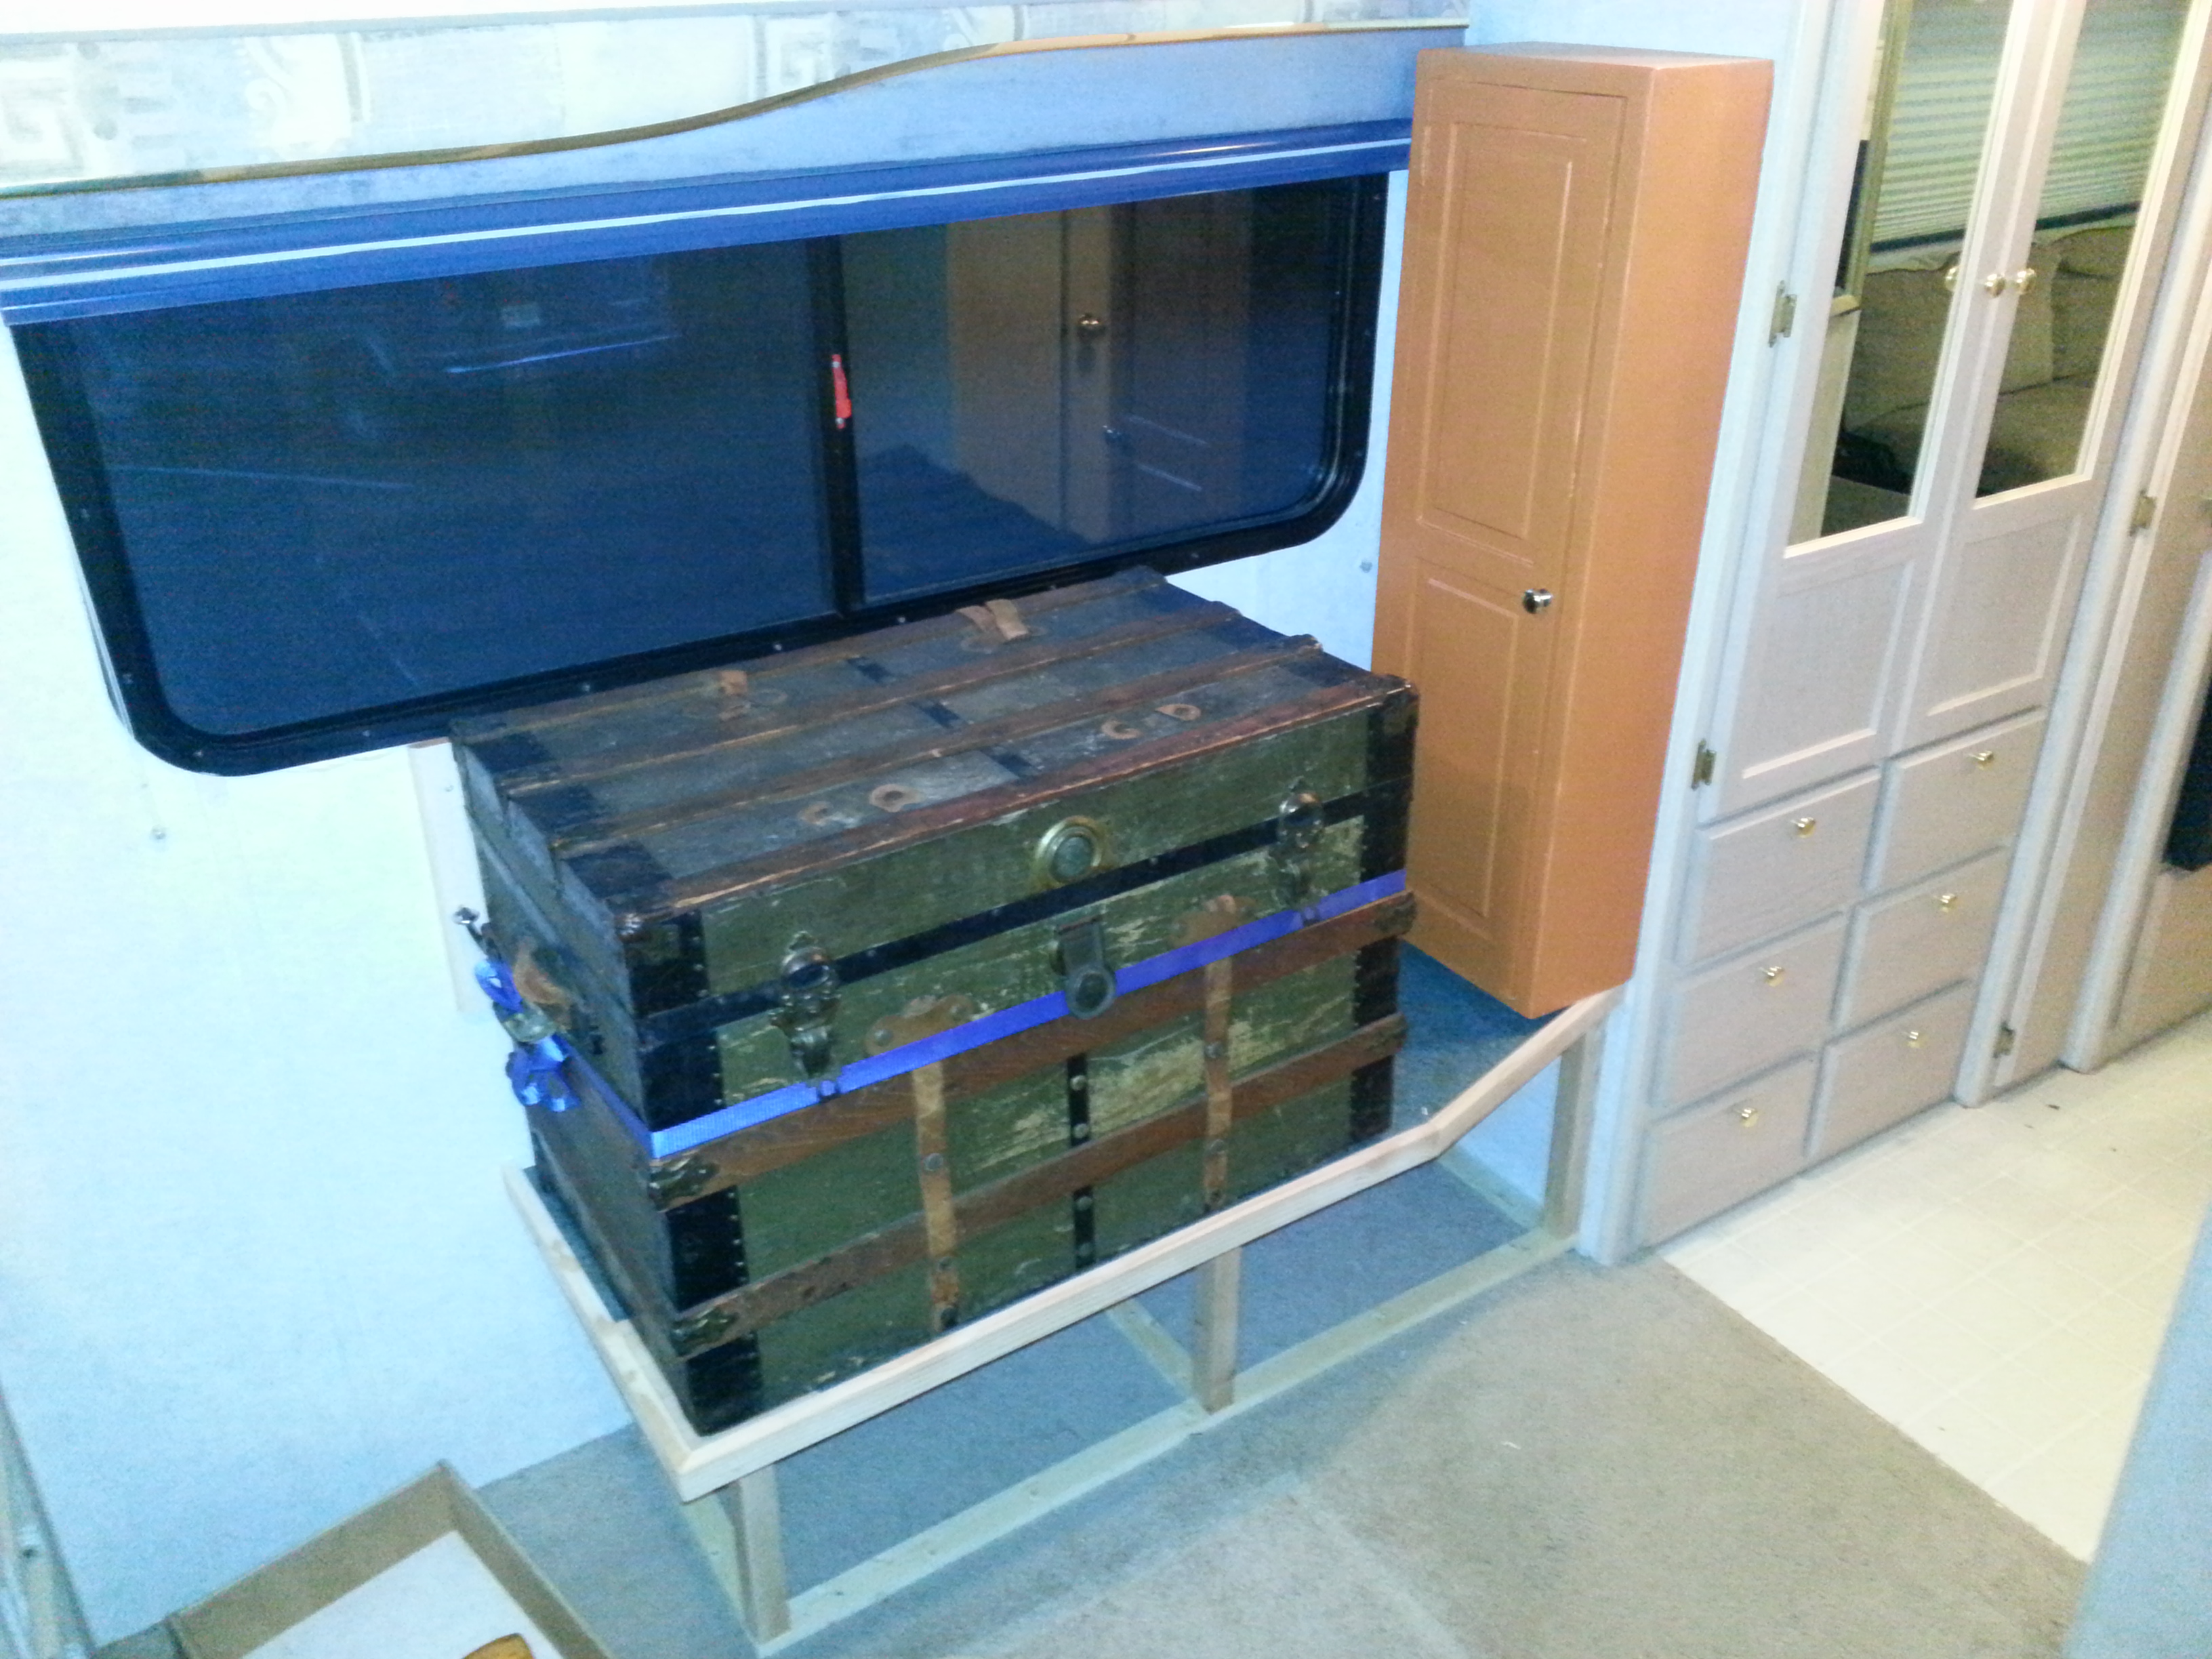
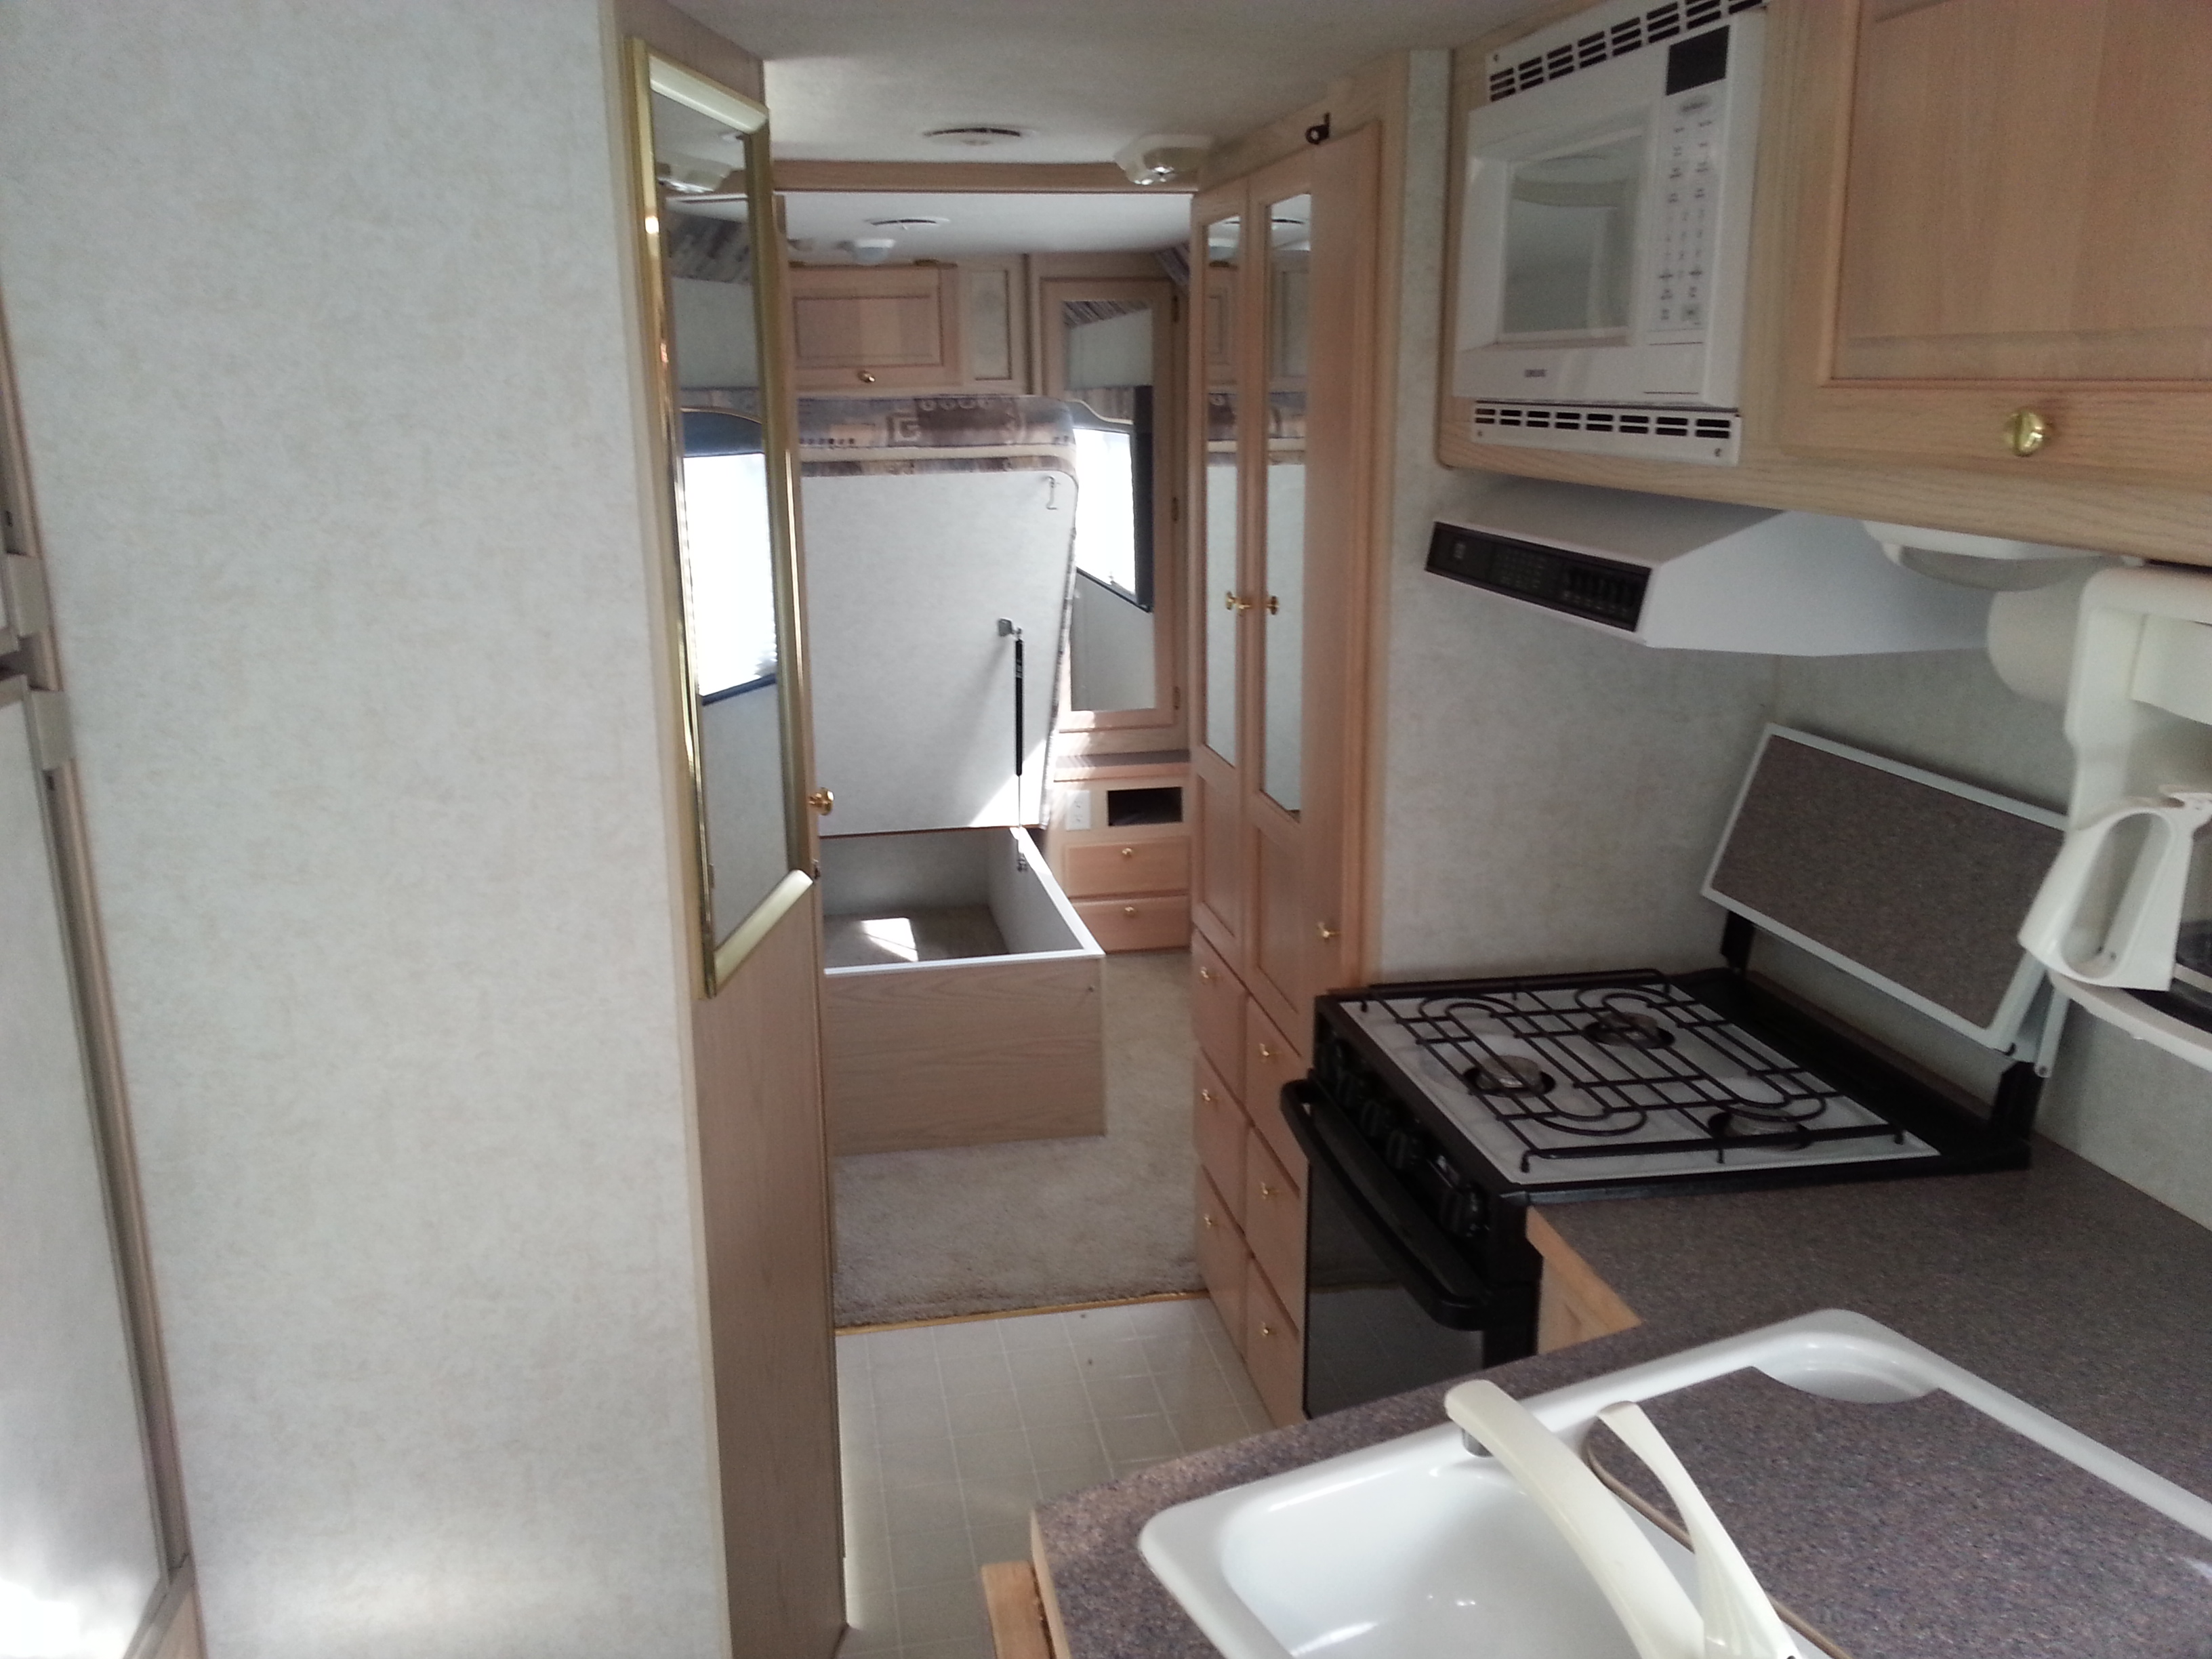
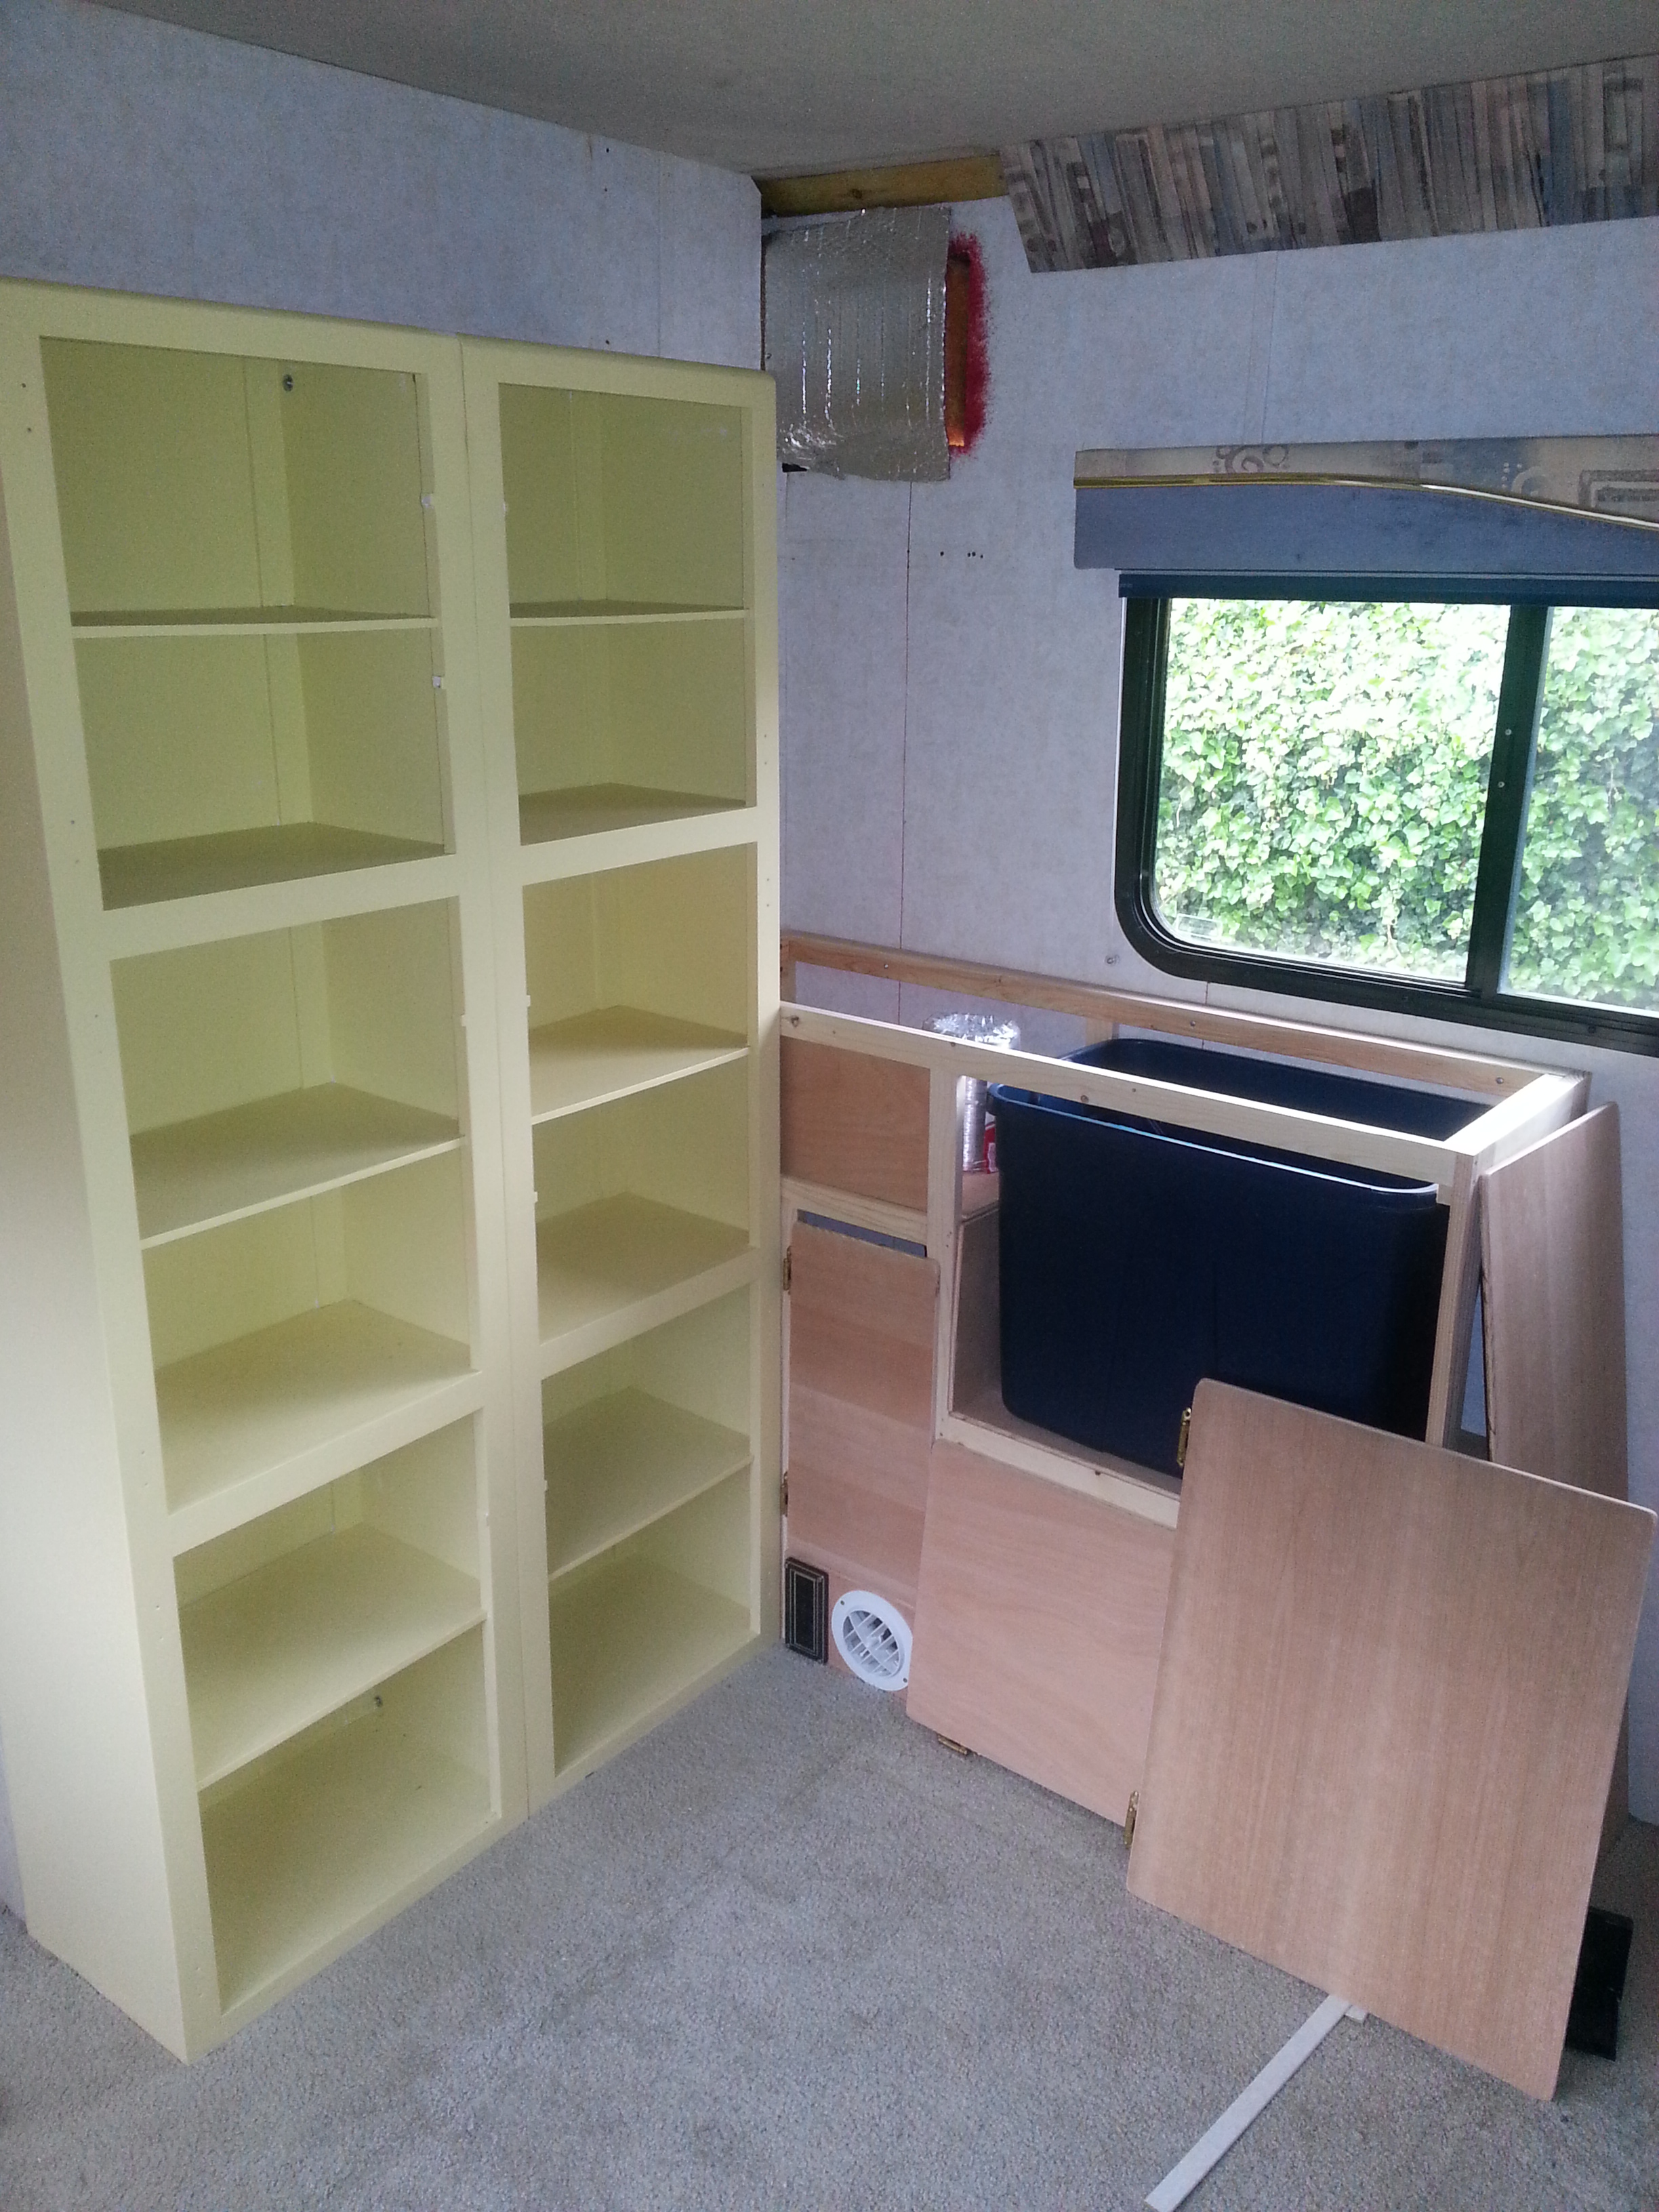
Back in the rear room I had to find a way to make two tall pantry cupboards fit, an antique trunk, jewelry cabinet and find a place for a litter box. The tall cupboards got painted and bolted together to be mounted to the front wall. The trunk and jewelry cabinet are elevated on a platform and secured to the wall; the trunk with some eye bolts and a ratchet strap. The cupboards were going to block the heater vent to the rear room so rerouting it would be necessary. There’s about fifteen inches between the cupboards and the passenger side wall. This is where I built a cabinet to house the litter box. I wanted our to cats to be able to crawl through some sort of hole and into the box in order to prevent litter from getting out. From scratch, I built an elaborate cabinet with some hinged doors on front and a liftable lid. The lid will have a rope rapped ring for entry on top and will be liftable in order to clean the litter box out. Removal of the litter box is accomplished via the door in the front. Additional storage space is provided beneath, and to the left. The heater duct is rerouted and the vent mounted to the cabinet face. A ventilation fan made of a computer fan and a carbon filter should help with odors. I may duct this to the outside of the coach at some point. I repurposed the table from the front room to serve as a sewing table and ironing board. This will have hinged support legs and the whole thing hinges to be out of the way. Eventually the top will be carpeted for feline enjoyment. Additionally I installed some IKEA dressers to the rear wall. These don’t have any catches in the drawers to prevent them from sliding out while driving, so a re-used some hardware from the front table to build a retaining board, to be installed from safe transport. A few cat trees and perches will be designed at a later date.
The Dometic Adsorption Refrigerator has removable panel inserts. Erin decided it would be a good idea to put some sheet metal that is painted with a chalkboard paint. Then, the refrigerator doors will be magnetic and they can be drawn on.

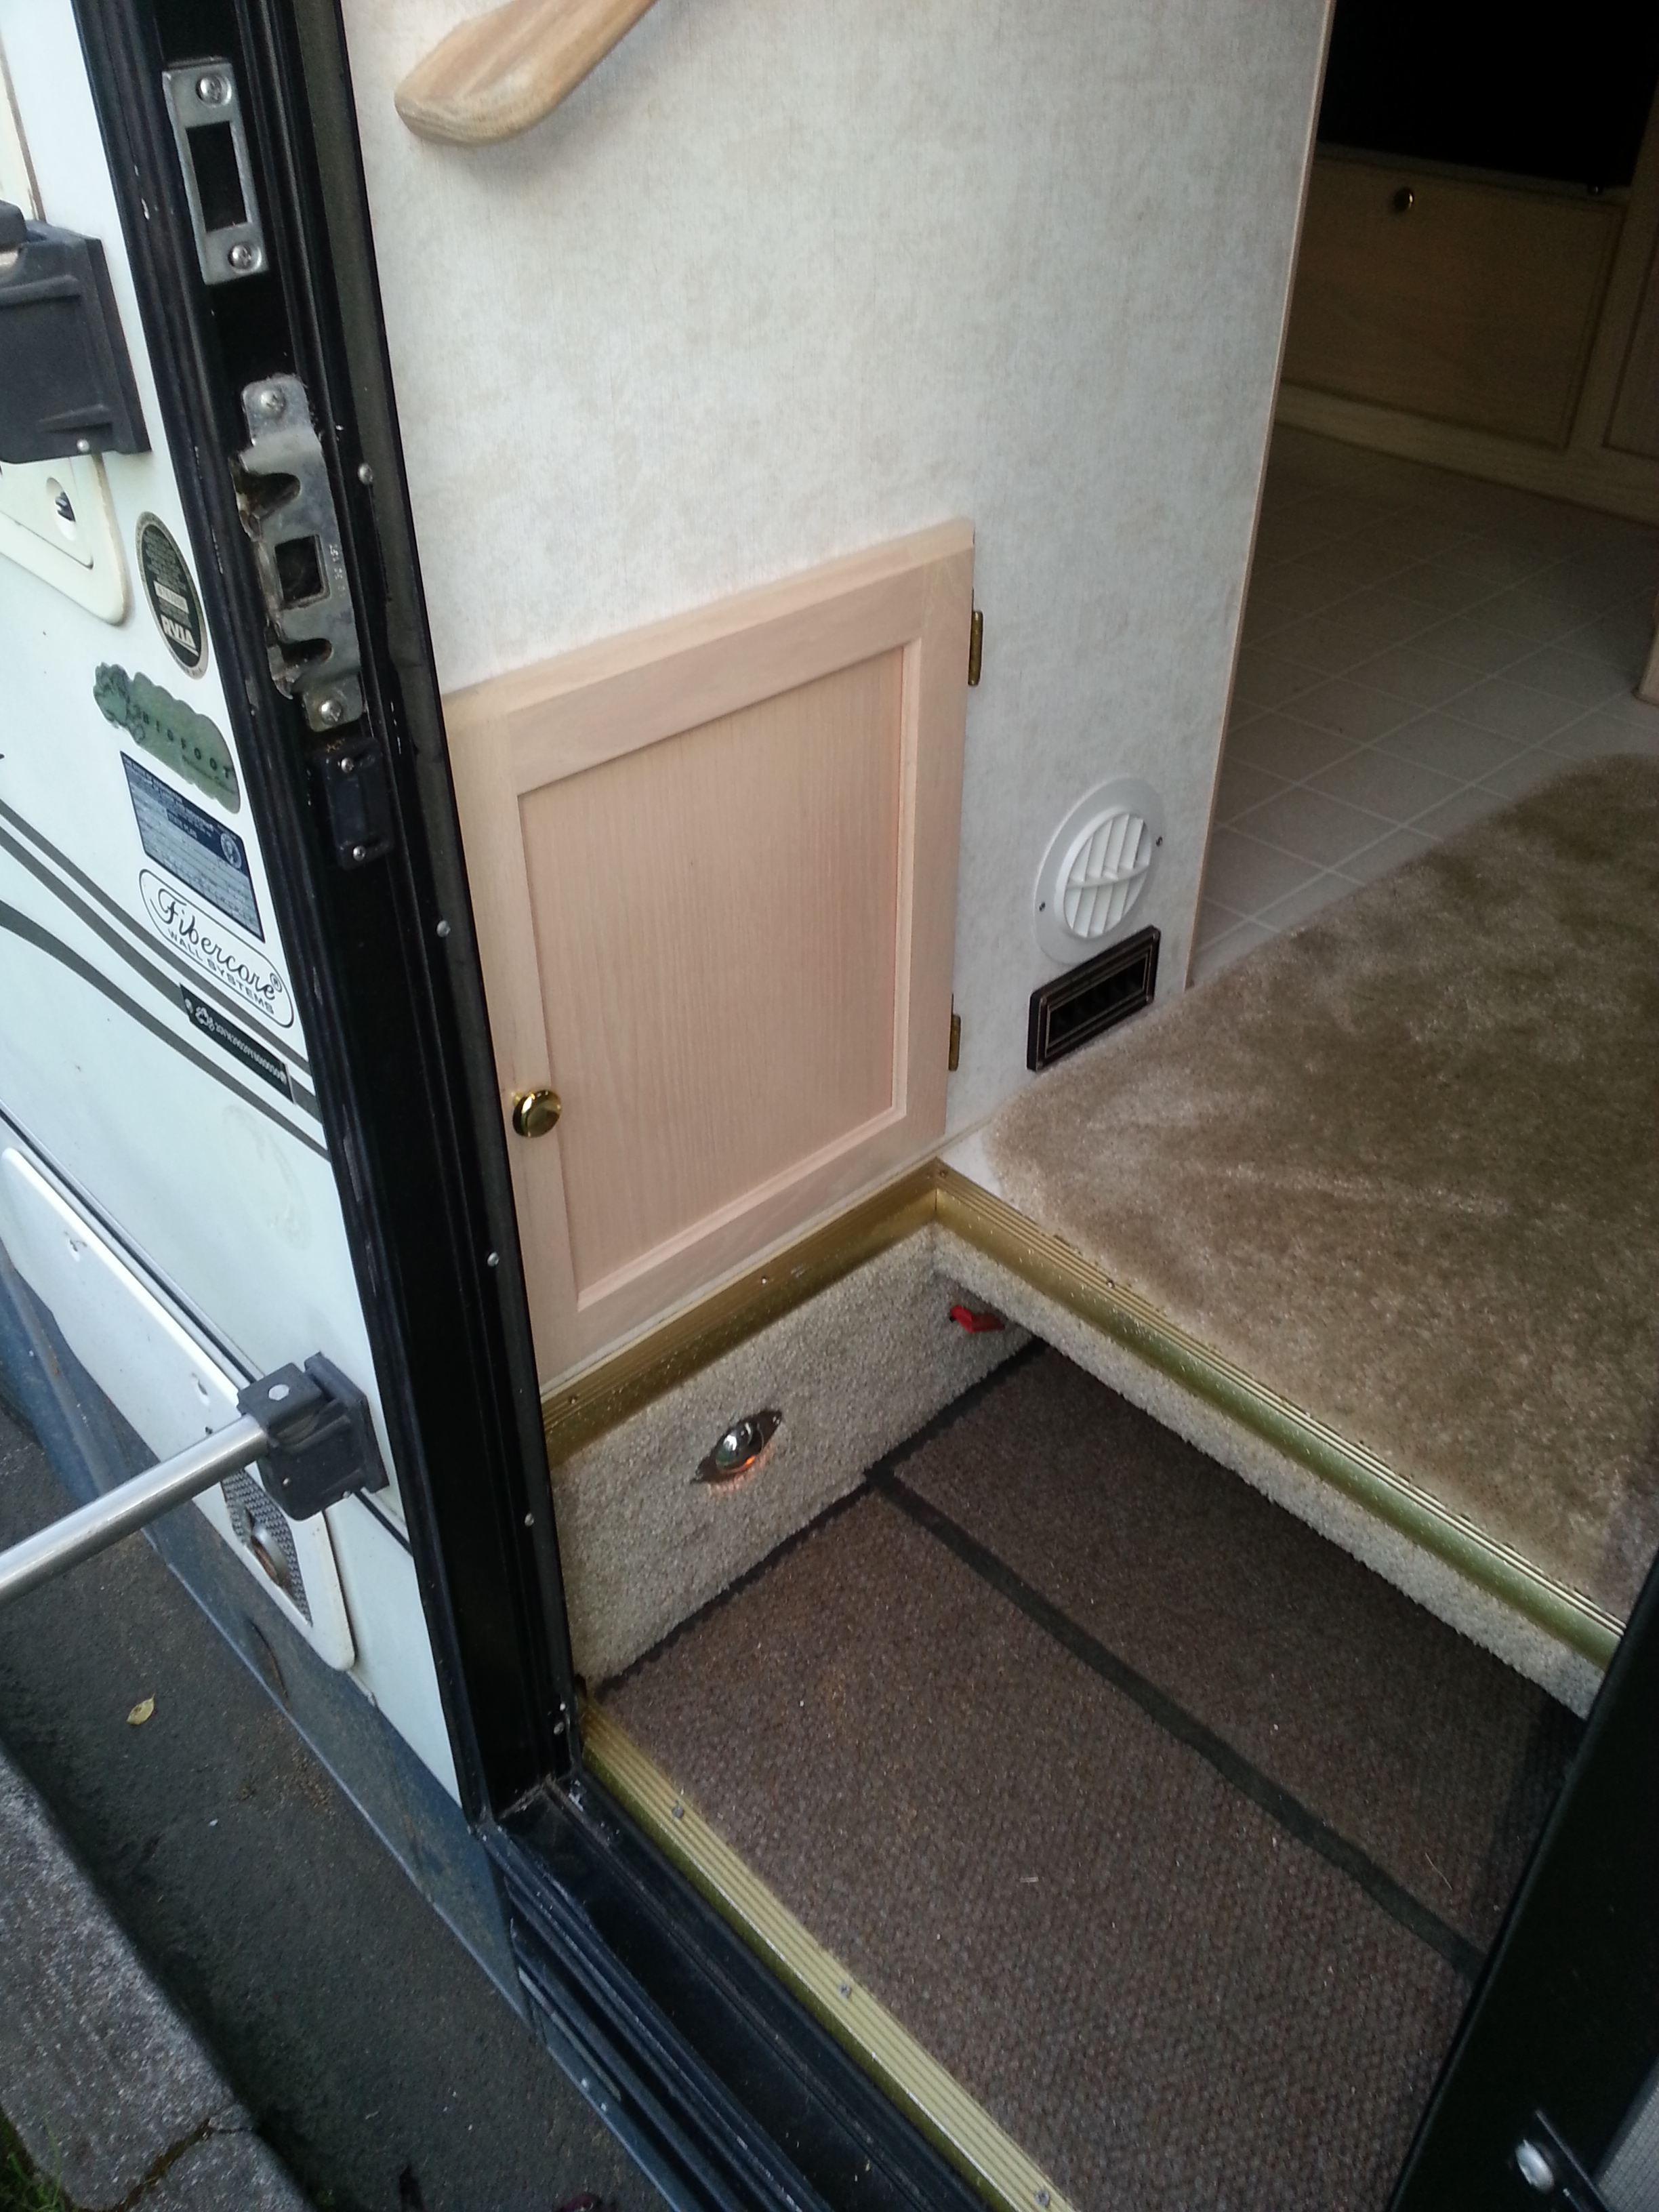
Underneath the refrigerator is the back of the breaker panel and charge controller as well as some ductwork, wiring, solenoid, and just a lot of stuff I’d like to have access to. The folks at Bigfoot didn’t seam to think anyone should need in there so no access is available. Re-using one of the cabinet doors in the enetrtainment center, I cut a hole, reinforced it with a board and hung the door.
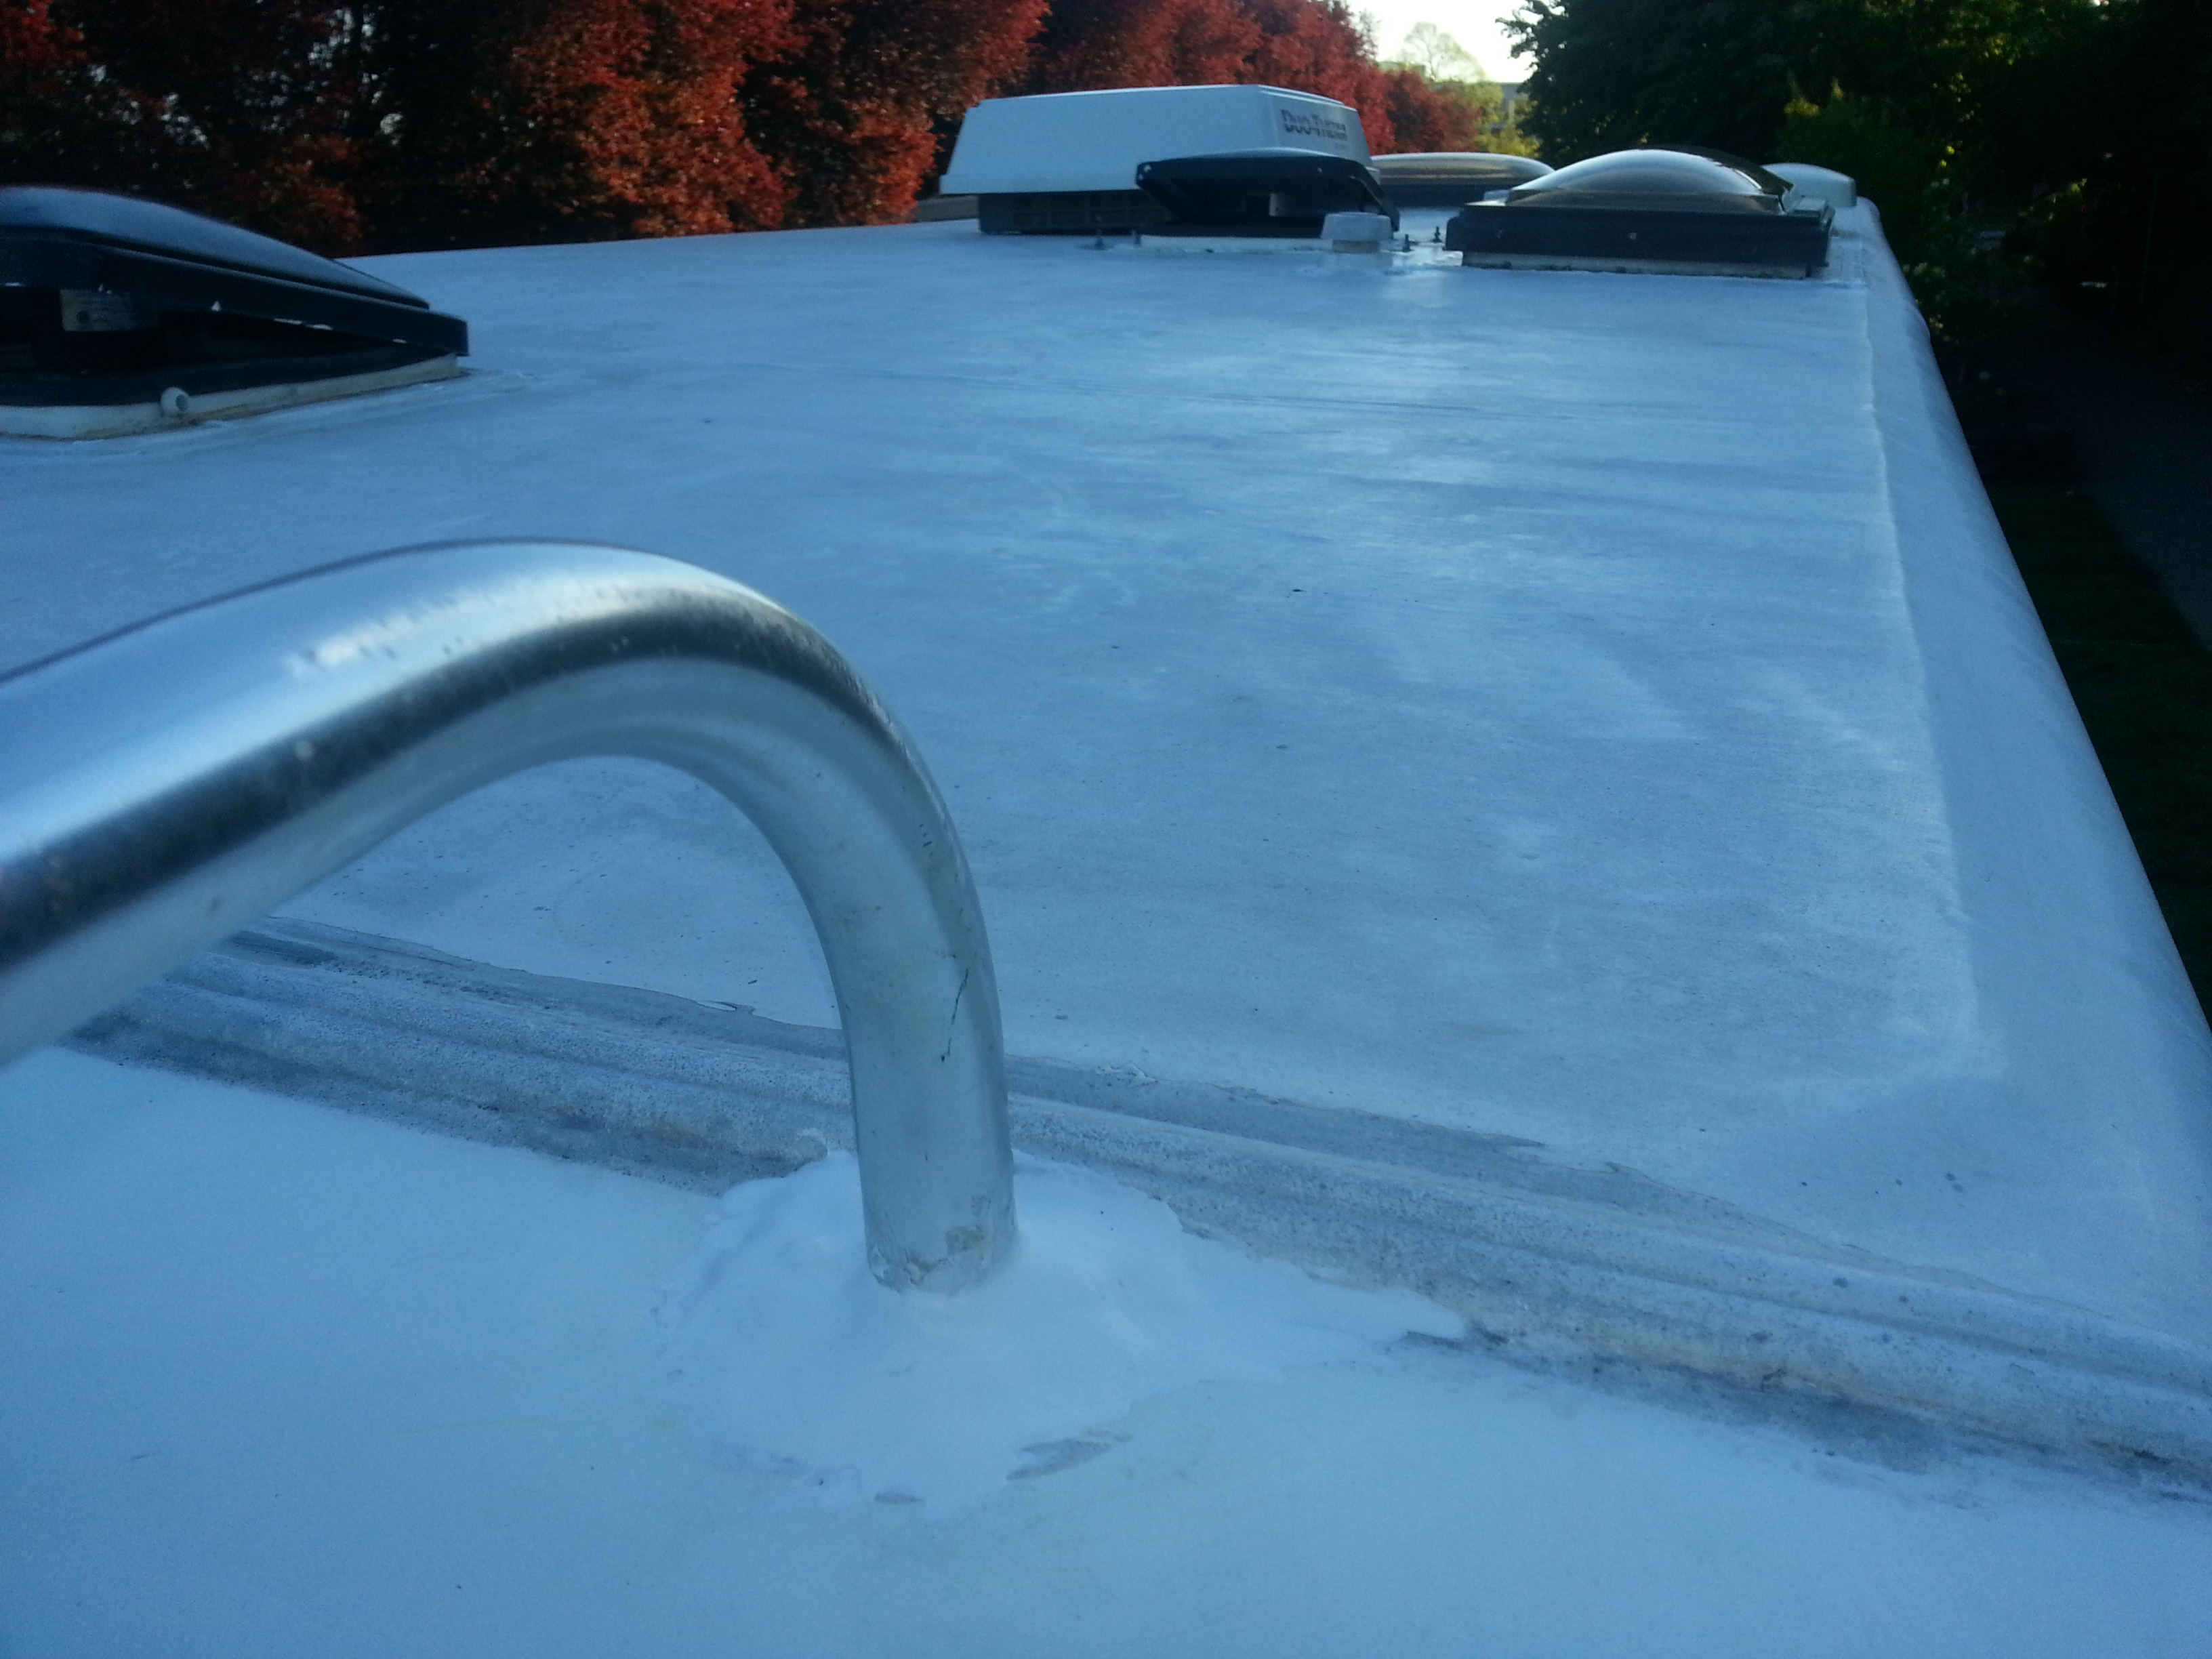
The roof had a few days of special attention. A number of small cracks in the sealant warranted some repair. After removing the vent cowlings and cleaning the areas thoroughly, I applied a white self leveling lap sealant specifically made for RV roofs. The stuff really is remarkable. One of the ladder posts was very loose and I feared the worst, that water got in and destroyed the mounting area, leaving it to break off. Actually, after cutting away some of the sealant, I found that the bolt holding the mounting plate onto the ladder post came loose and worked the sealant open. After cleaning everything up and re-tightening the post, it’s sealed up and plenty sturdy. Heavy rain would bring water in through the roof mounted AC unit and onto the kitchen floor. Not a large amount, just a few drops, but any water is too much water. I first snugged down the mounting bolts on the gasket, but it appeared the water was leaking through the body of the unit, rather than around the base. I believe it was coming in through some small cracks in the cover around the stressed screw holes in the edge. A bit of epoxy gave it the structural integrity it needs and some white lap sealant as waterproofing. I’ll need to do a better repair in the future. Beyond that, the roof needs one more good cleaning, then a UV roof treatment applied and the vent cowlings can be replaced.
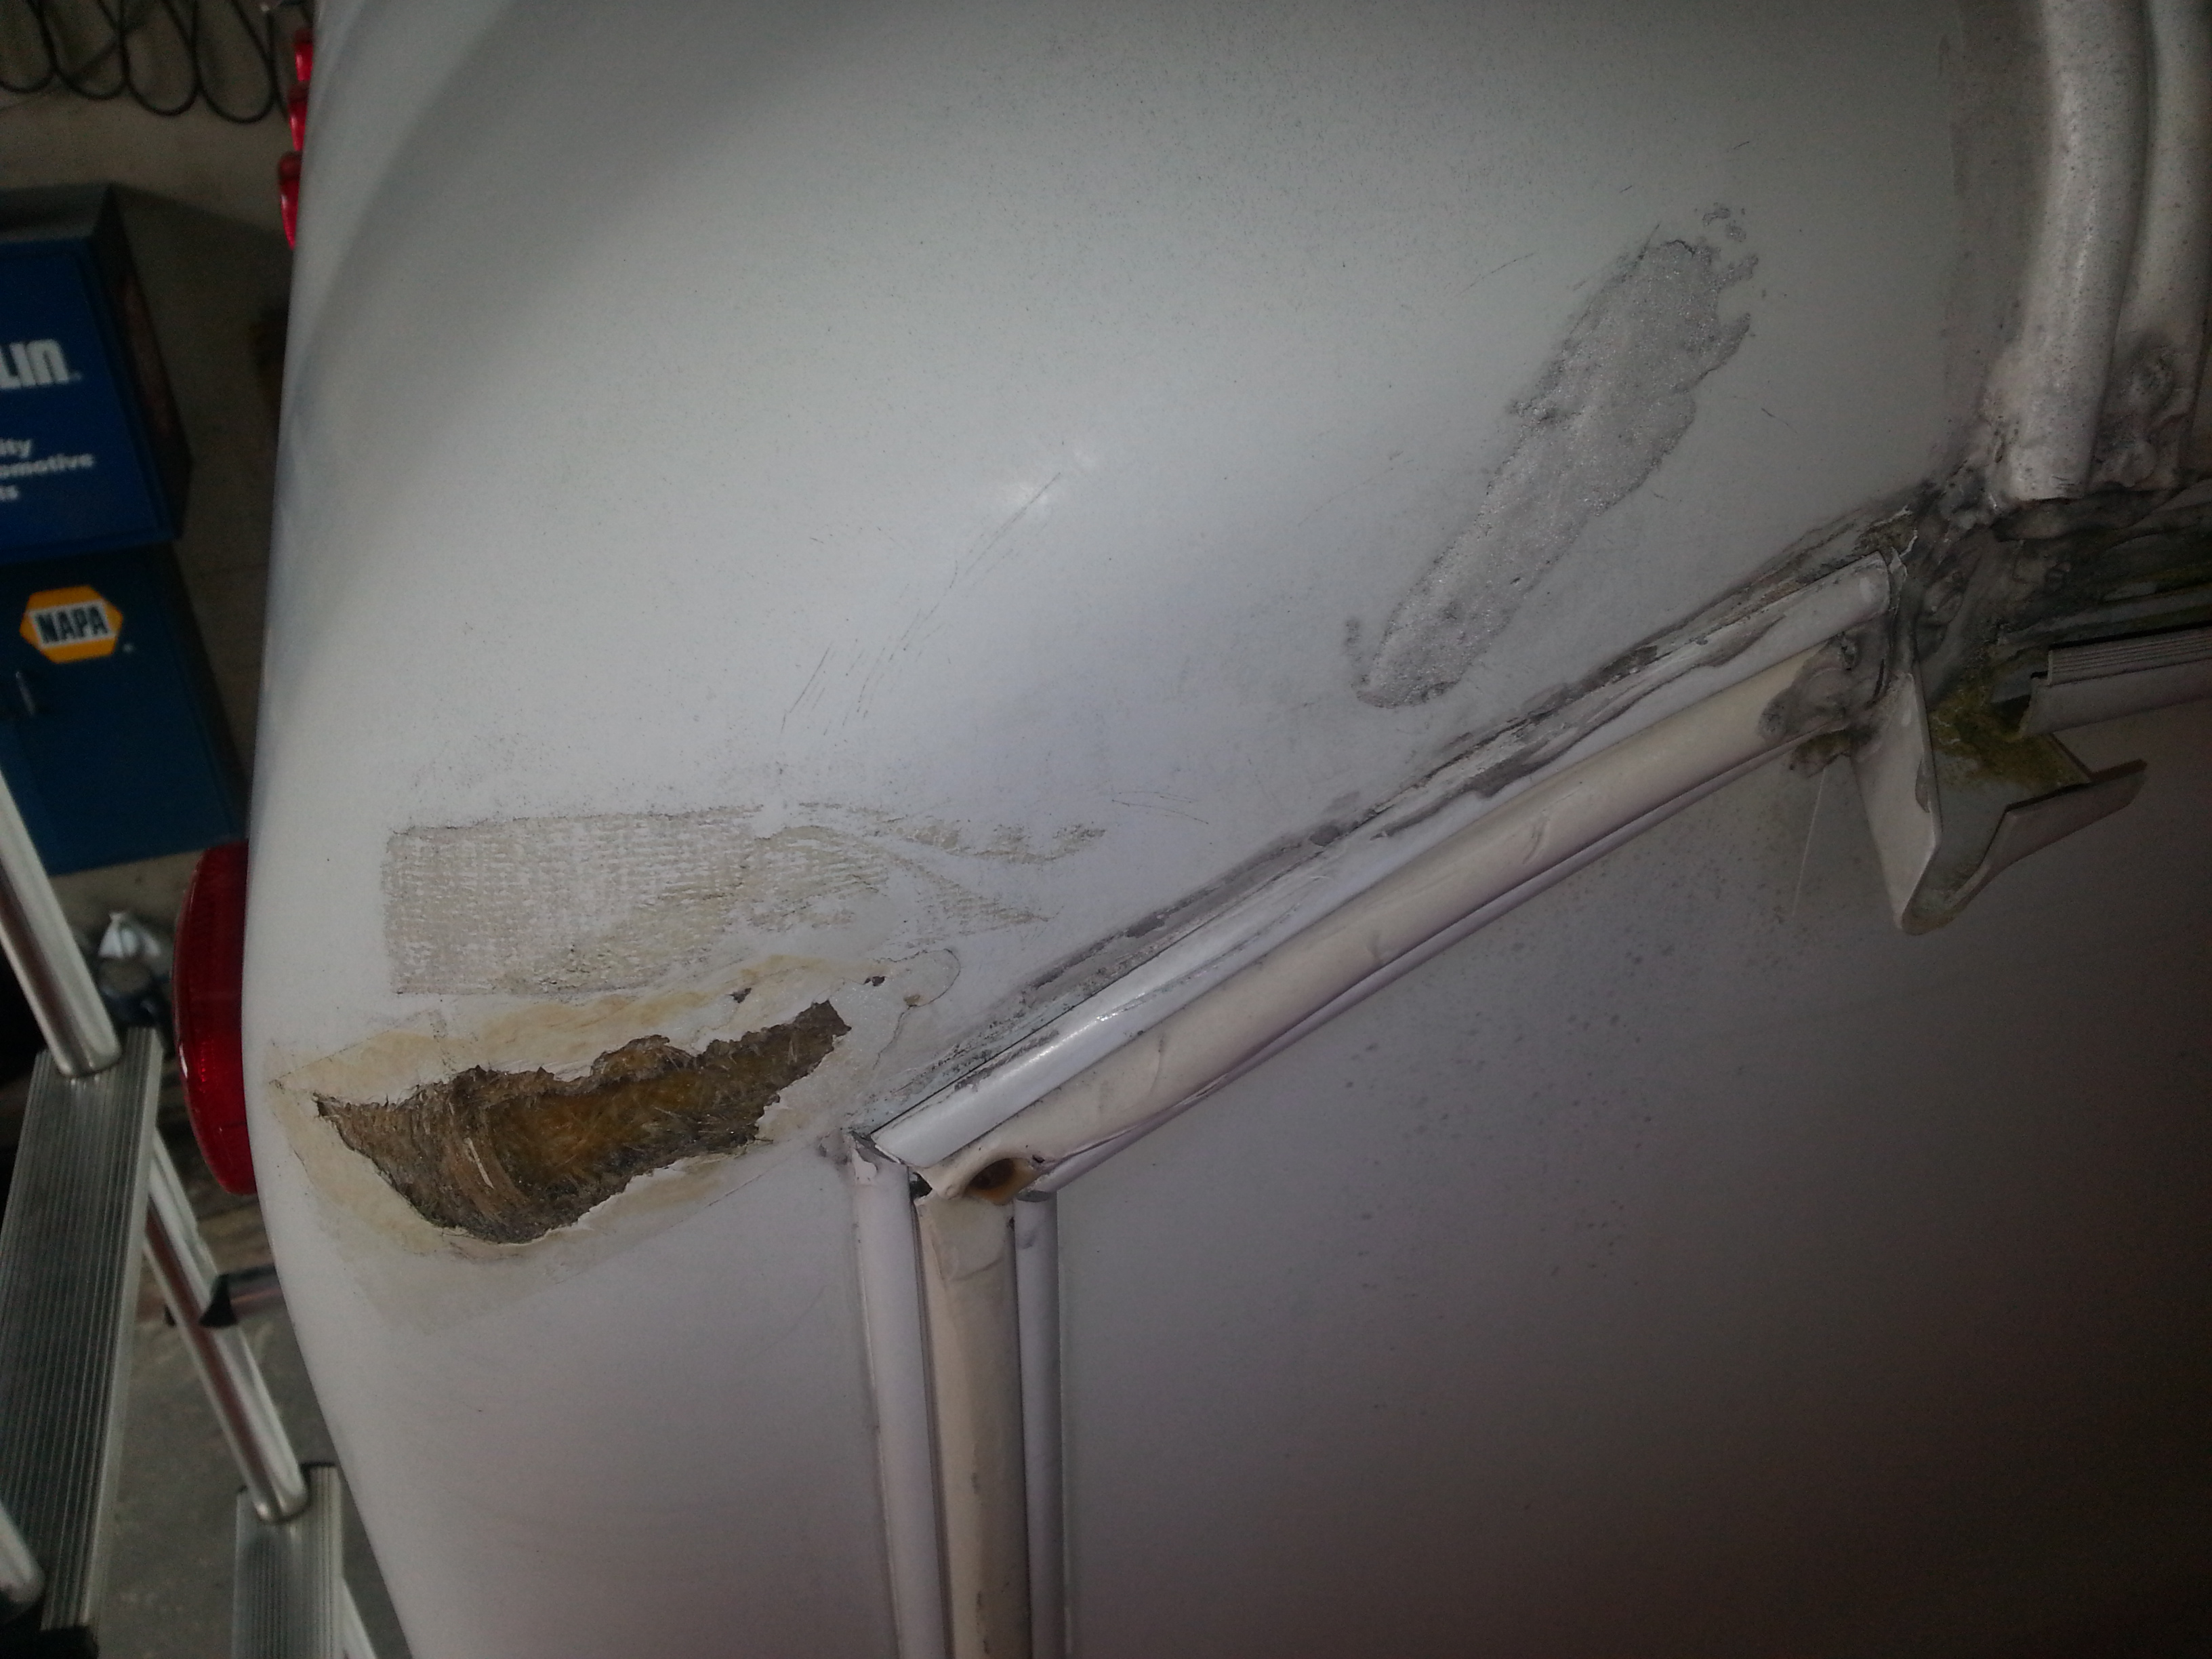
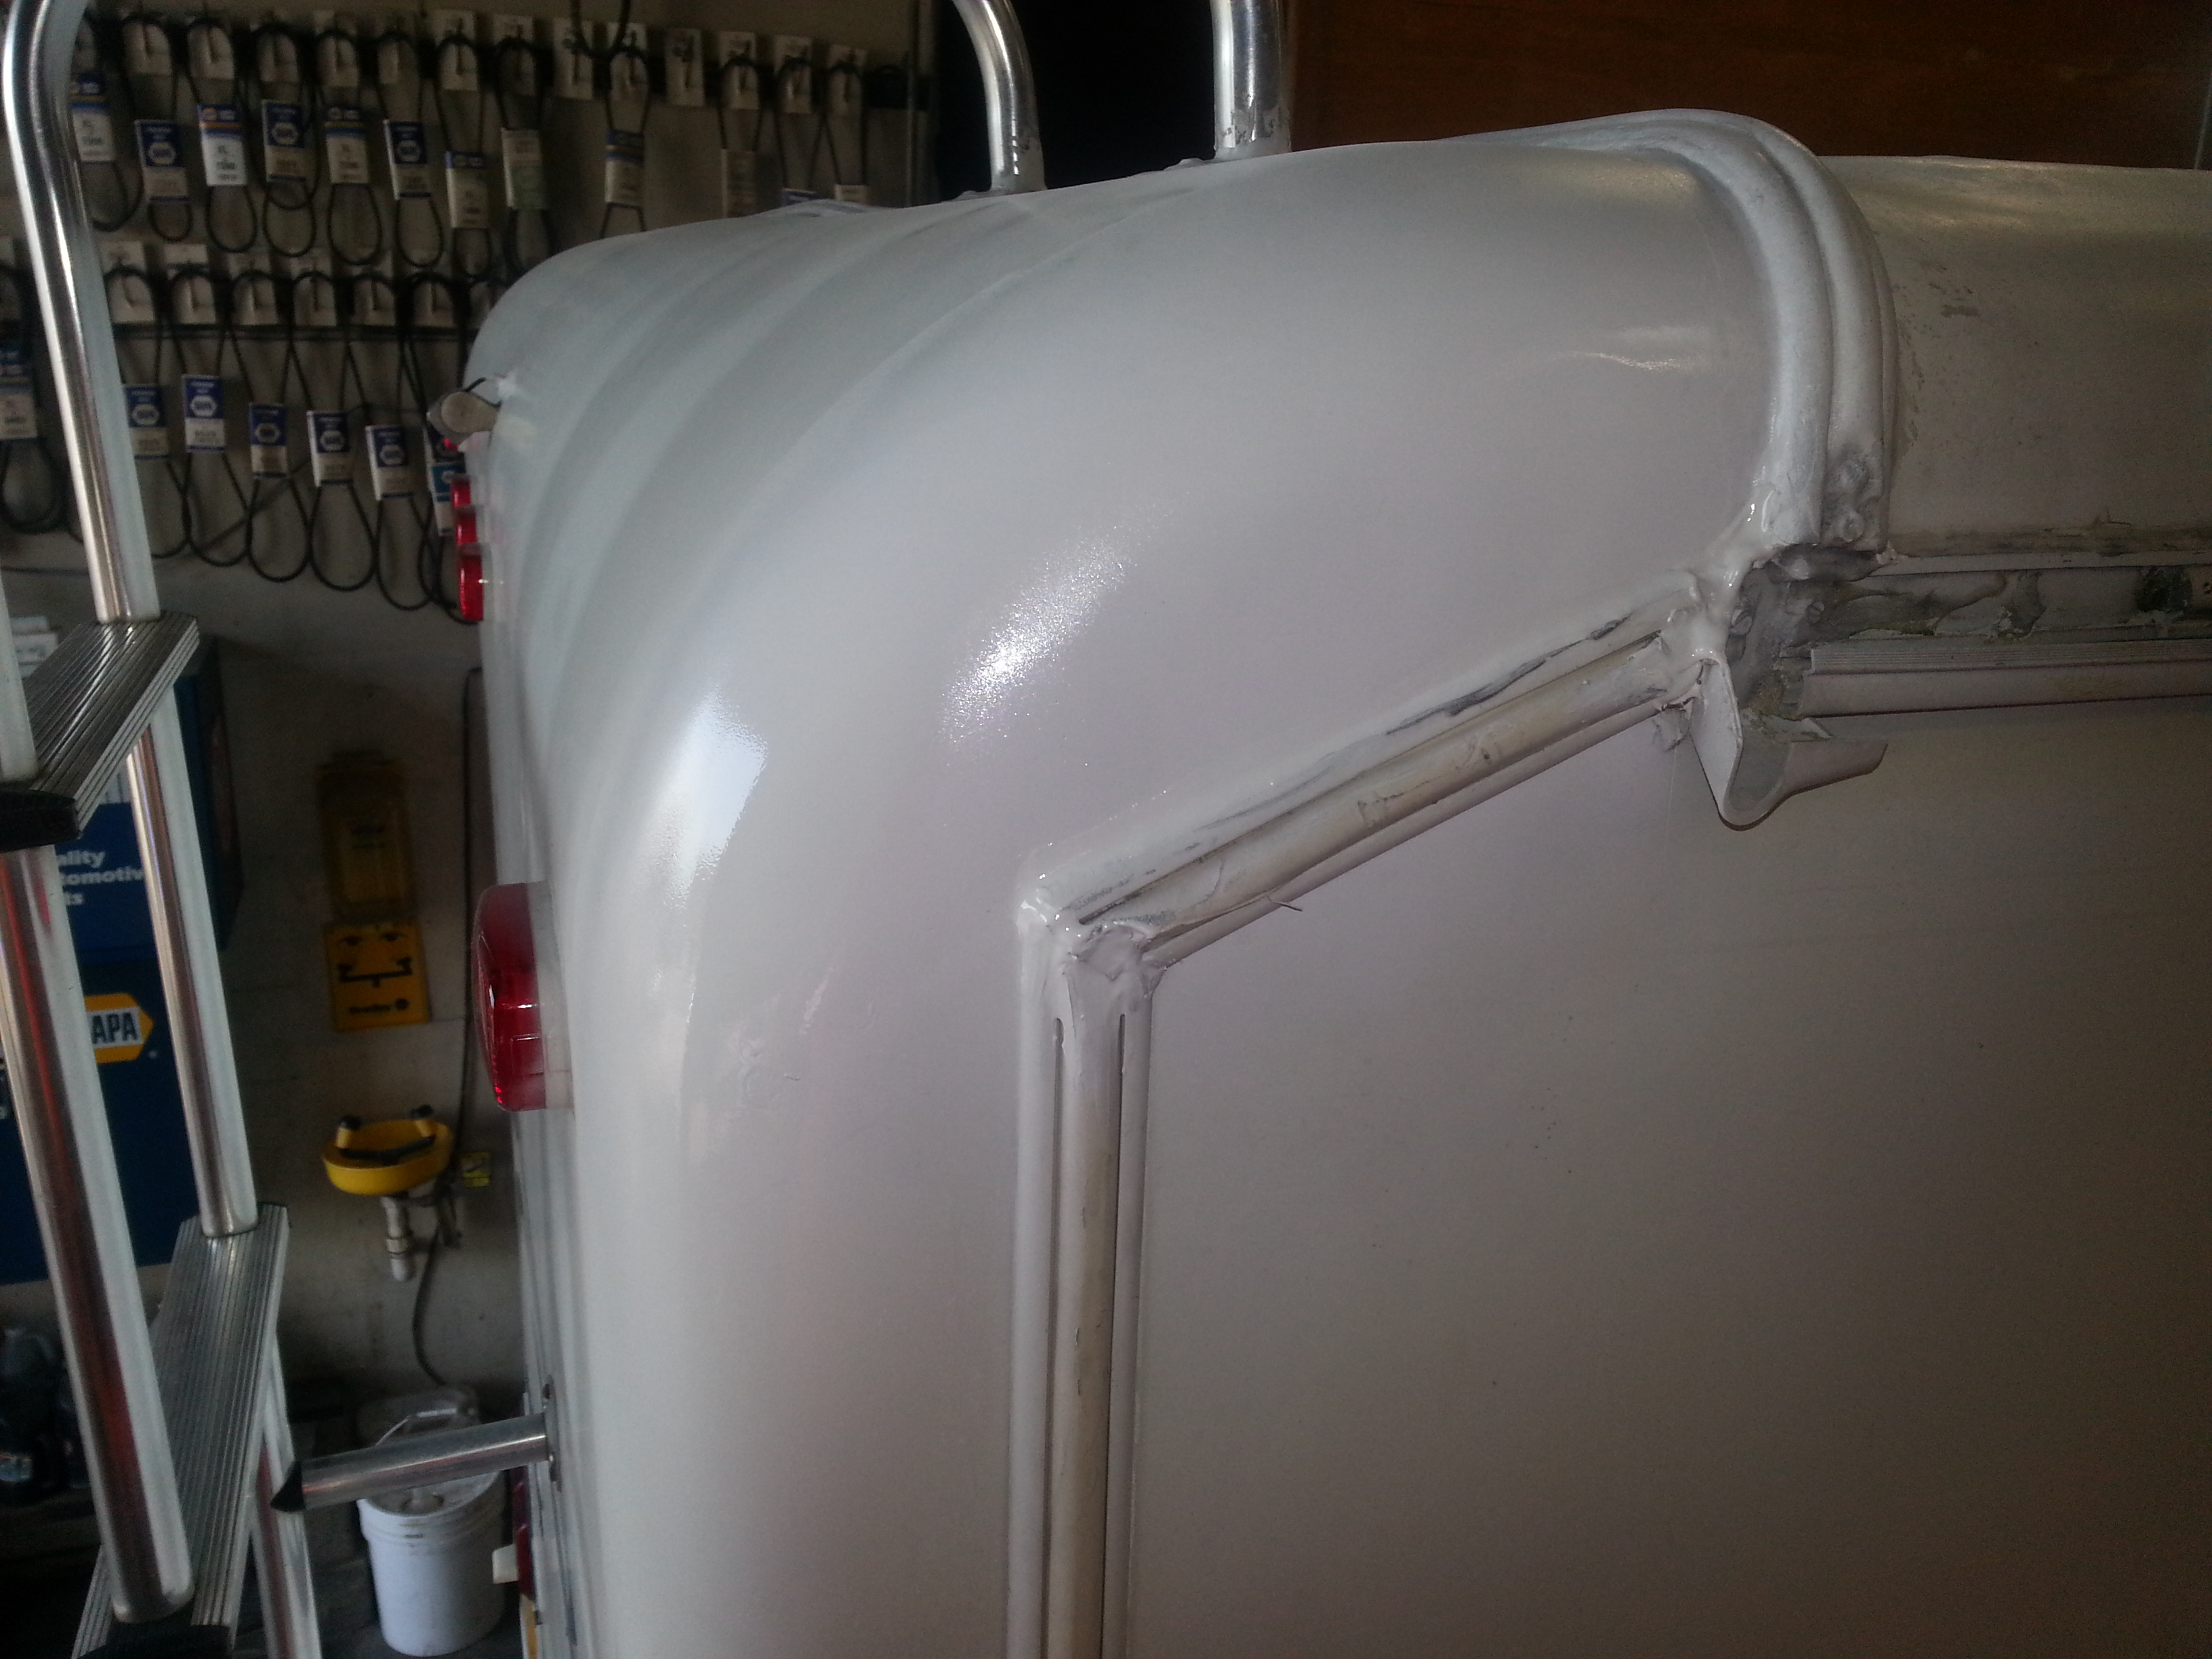
Most recently I did some body work to the top, rear, right corner where some patch work was performed by a former owner. It appears as though someone rubbed a tree branch or something and took two small gouges out of the fiberglass corner. It is unknown what material was used to do the repair, but I think it may be a white Marine-Tex or similar substance. Whatever it was, it was not sanded down or painted, so it had a funny chewed bubble gum stuck to a table underside look to it. I dug it all out, sanded down the affected area, applied Bondo With Hair, sanded again, applied Bondo Filler, sanded, and painted the area. My first attempt at bodywork. Not great, but it will do.
There are a few other spots on the coach exterior that need some touch up work and paint, but that is to follow.
This week, I’m going to clean the coach exterior, secure all the rear cabinets and finish the fold up table, get the water supply up and running including acquiring the appropriate chemicals to clean and sanitize the water lines and set up the sewage tank to receive our “goodies”. Before we move in I’d like to install a water meter to the domestic water supply as well as the hot water tank, so I can log our water consumption. Focus must be made to continue the grand purging of our possessions in order to fit our new tiny lifestyle. It feels great to rid myself of so many useless items! We’ll soon begin moving items into the coach, where no doubt some further small construction will need to be performed in order to secure and organize the load.
It’s been almost two months since we purchased our Bigfoot, and the end is in sight. By “the end” I mean the time when we commit full time residence in it. It’s going to be a long and exciting process improving the living conditions and integrating energy management technology throughout the coach. Well, until the next update!
-M.C. Pletcher

Congratulations on your new home! It’s fun to personalize it, right?
Parker
Yes, it is! We have a lot of work yet. A tiny house is in our future too. When are you planning on being moved into yours?
I plan on having it secured against weather well enough to move in by this winter. I keep missing my deadlines, though!
Parker
[…] is a bit much for some folks to swallow; they just don’t get it. Having moved into a motorhome to save money, and in order to force ourselves to downsize, has put me into the interesting position of living in […]
[…] time residence and park in someone’s back yard, or in a trailer park where we are now. (Our New Home: The Squatch) Having lived in the Squatch for almost four months, I can say that tiny living is just fine with […]